
Enterprise Feature Control
Control which frontend features current enterprise members can use on the Feature Permissions page, and specify the members or departments allowed to use controlled features.
Control which frontend features current enterprise members can use on the Feature Permissions page, and specify the members or departments allowed to use controlled features.
Before you start
Sign in to SuperMagic and confirm that you are currently in the enterprise you need to manage.
Open the admin console and confirm that your account has permission to configure feature permissions.
This feature is available for the Enterprise Edition. Visibility depends on enterprise settings and account permissions.
Confirm which features need to be controlled and which members or departments should be allowed to continue using them.
Evaluate the control scope before making changes to avoid affecting enterprise members who are currently using the relevant features.
Feature permissions apply to the current enterprise. The features available for control on the page may vary depending on the enterprise edition and product configuration. Use the current page as the source of truth.
Open the Feature Permissions page
In the top navigation of the admin console, click Enterprise Features.
Expand Security and Permissions in the left navigation.
Click Feature Permissions.
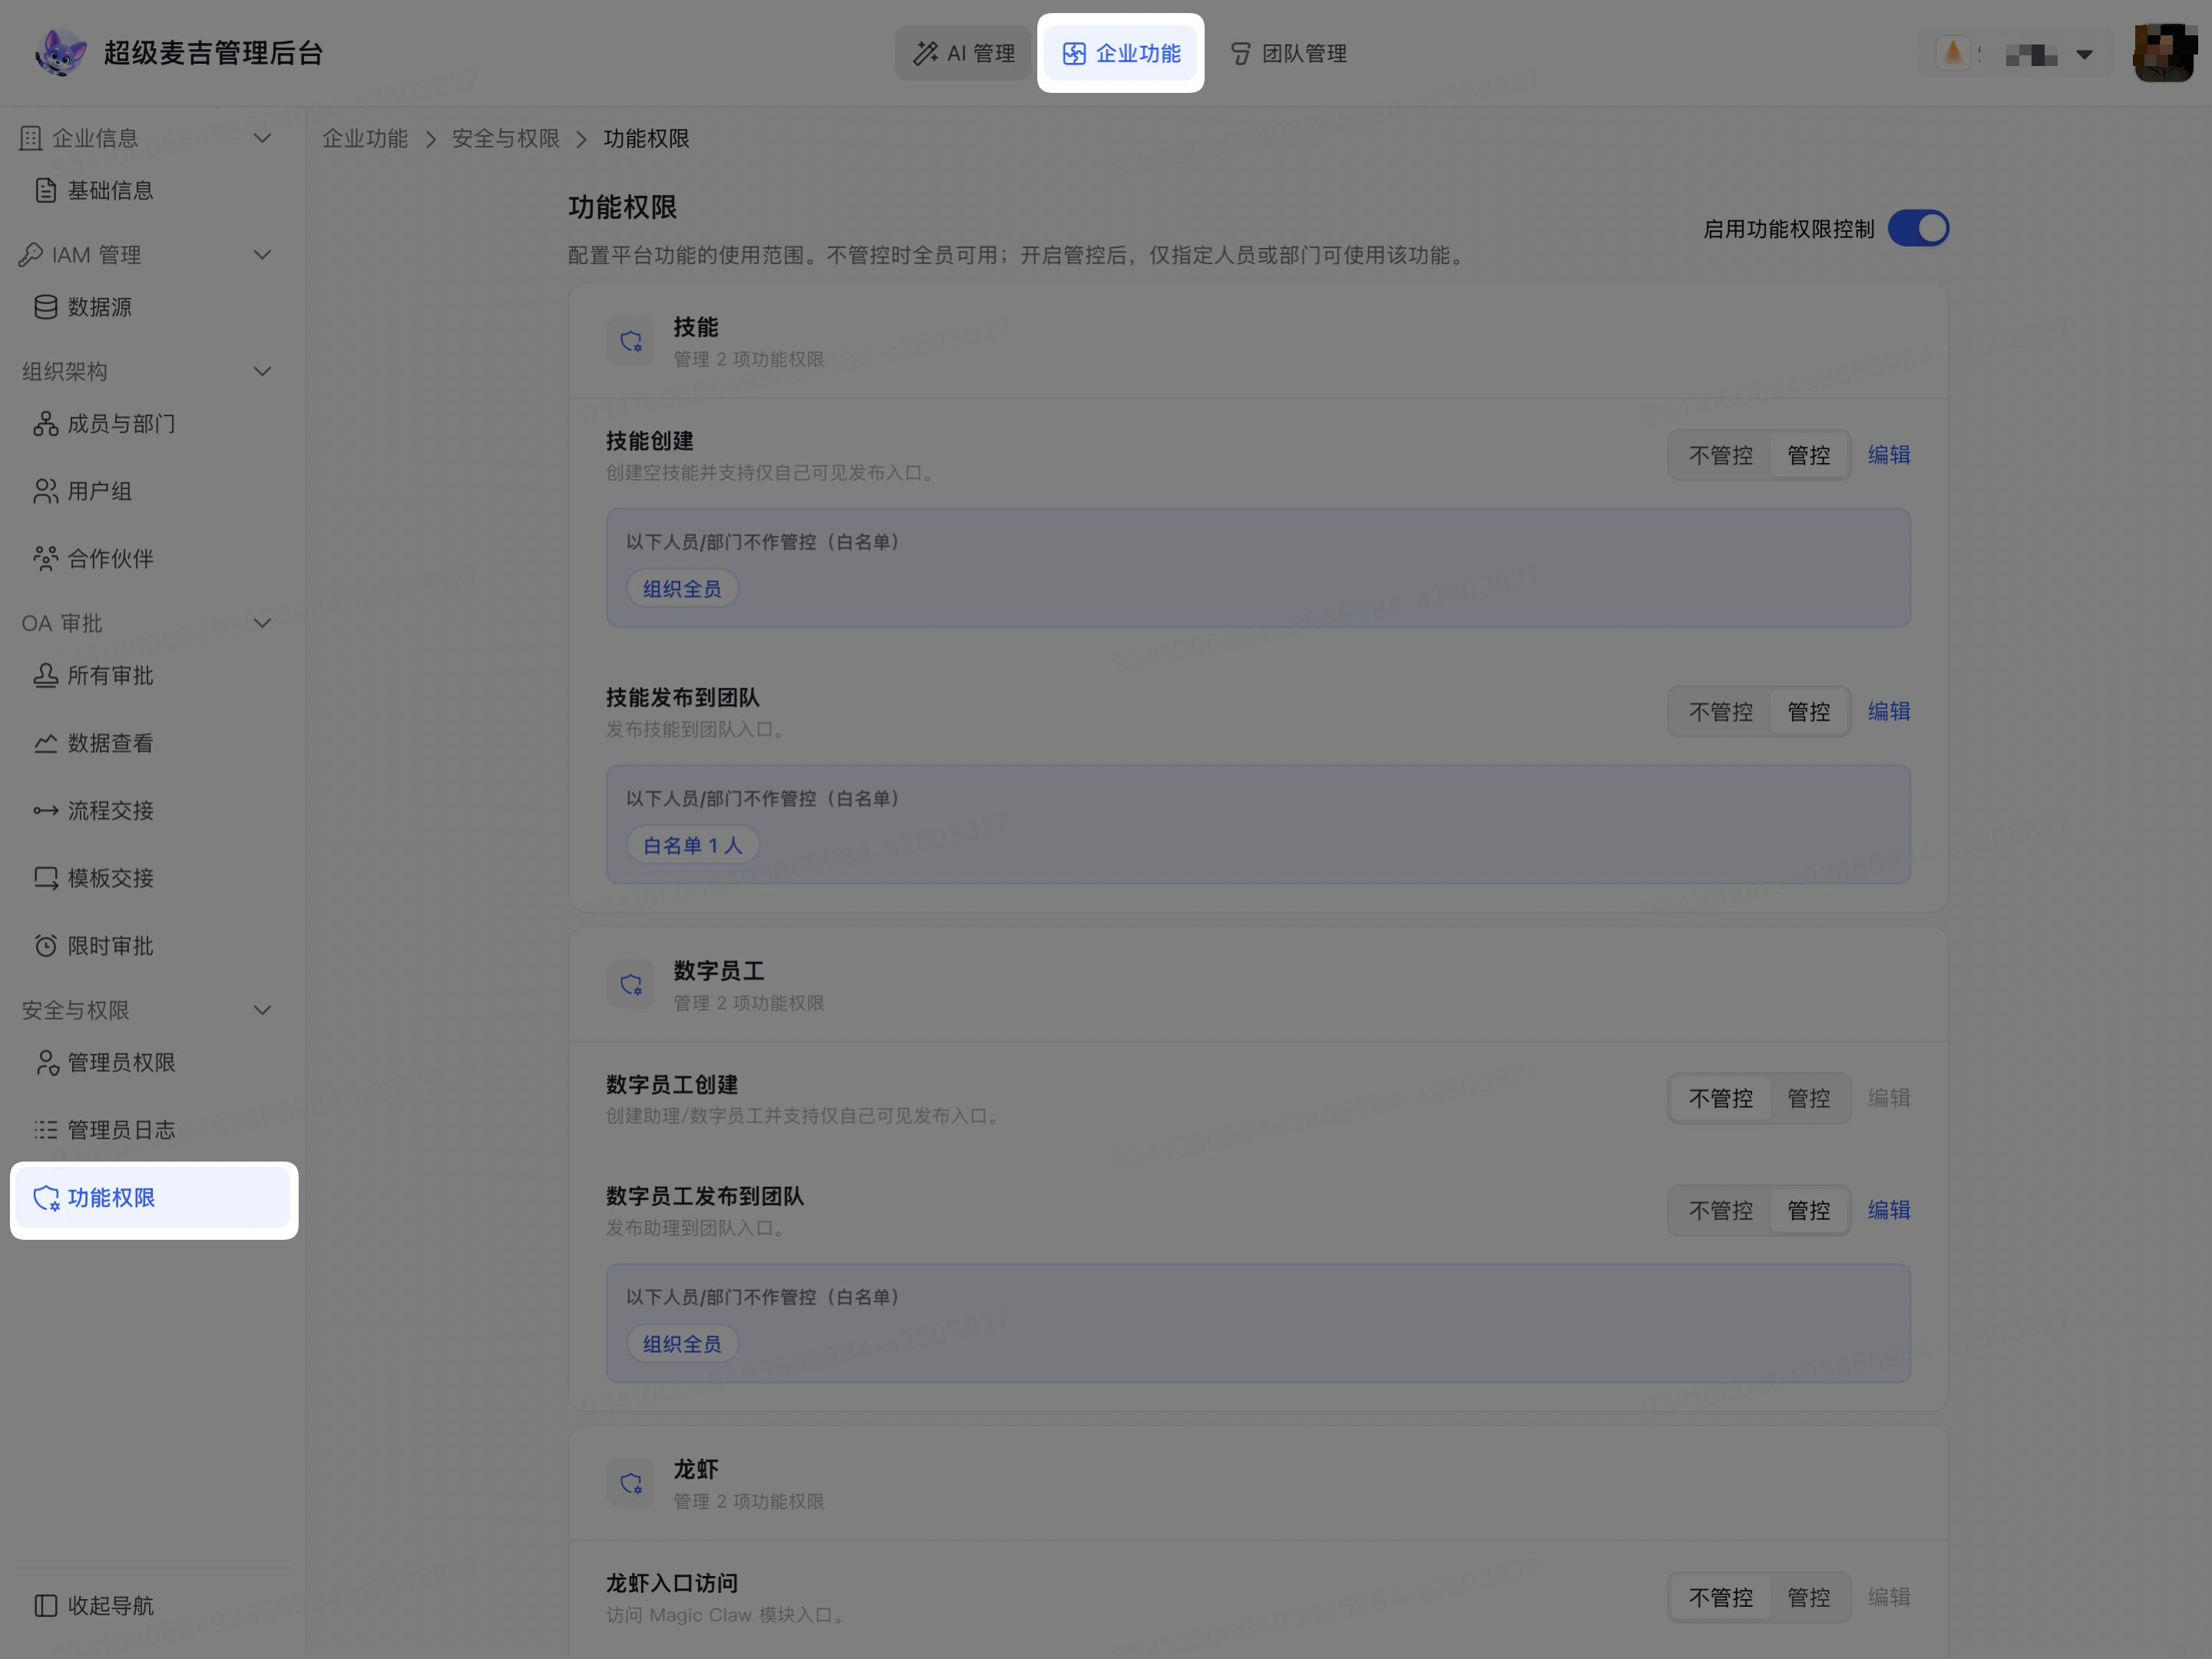
The page displays the Enable feature permission control switch and the features that can currently be controlled for the enterprise. Each feature can be individually set to Uncontrolled or Controlled.
Enable feature permission control
Turn on the Enable feature permission control switch in the upper-right corner of the page.
Check the current control status and allowlist scope displayed for each feature.
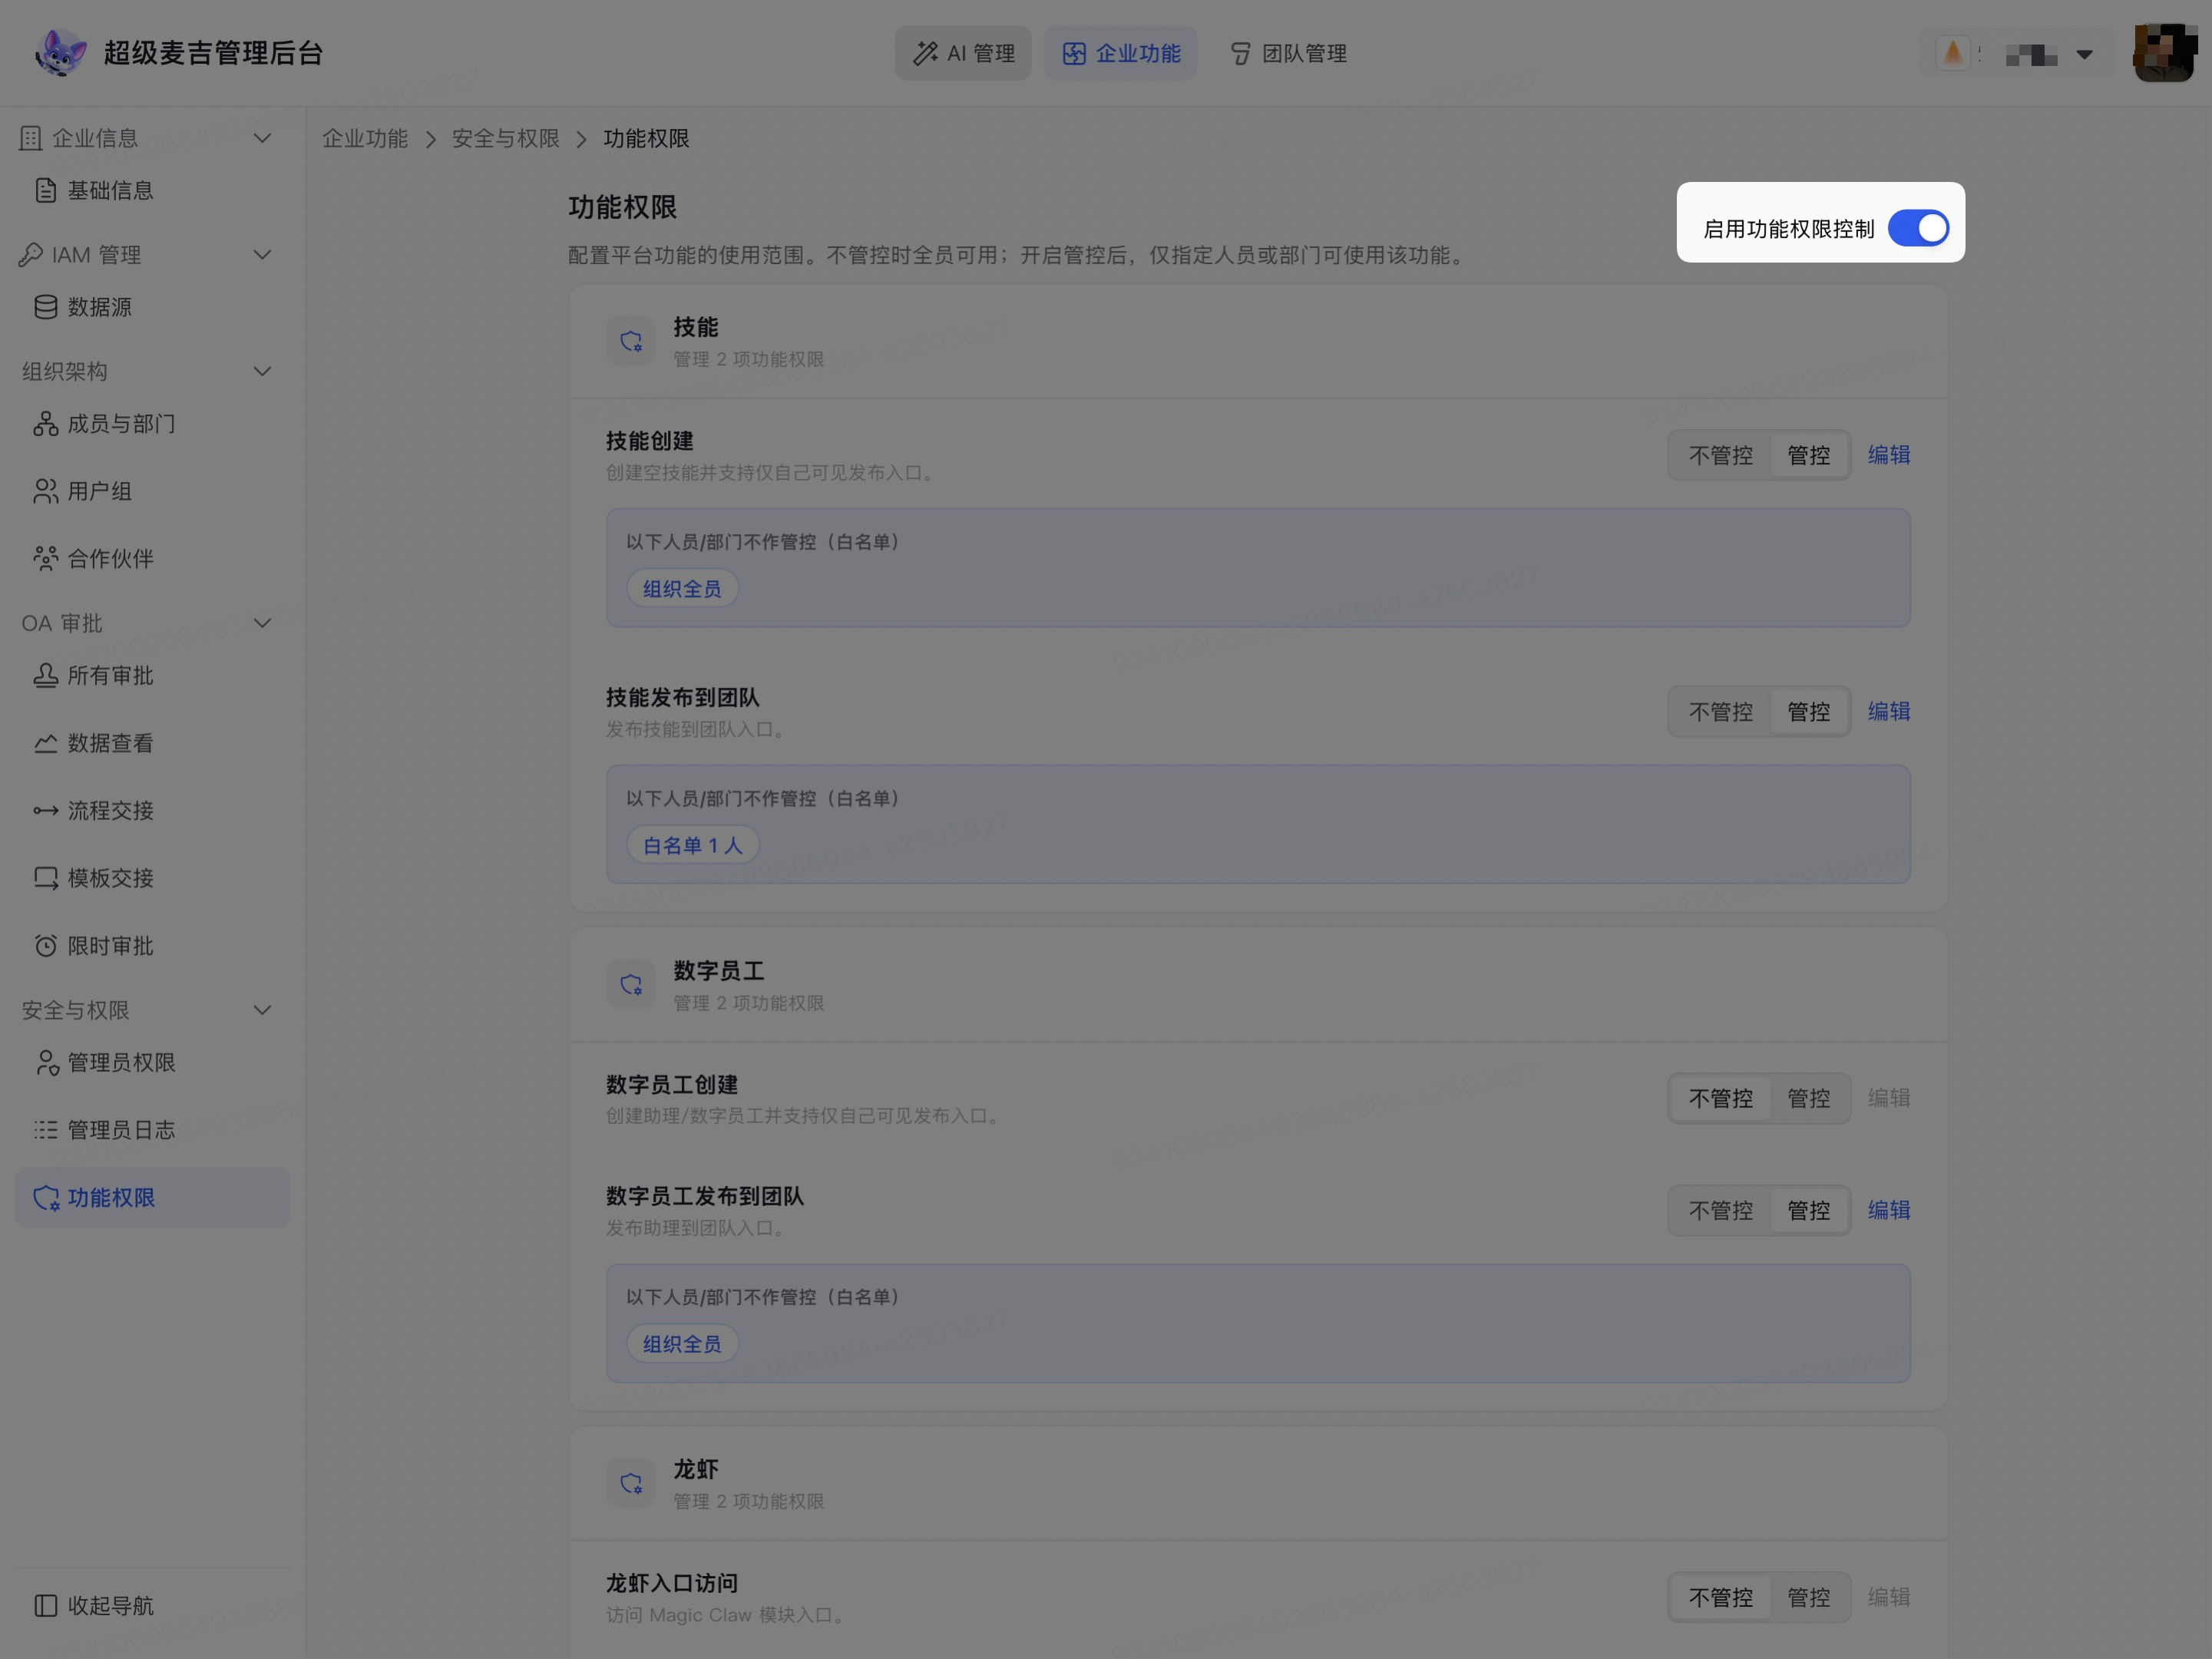
Feature permission control is enabled. The control options and Edit entry on the right side of each feature are now available.
Status | Usage scope |
|---|---|
Uncontrolled | Members in the current enterprise can use the feature by default. |
Controlled | Only allowlisted members or members in selected departments can use the feature. |
Turning on the master switch does not automatically disable all features. Only features individually set to Controlled are restricted according to their allowlists.
Set the feature usage scope
Set a feature to Controlled
Find the feature whose usage scope you want to restrict.
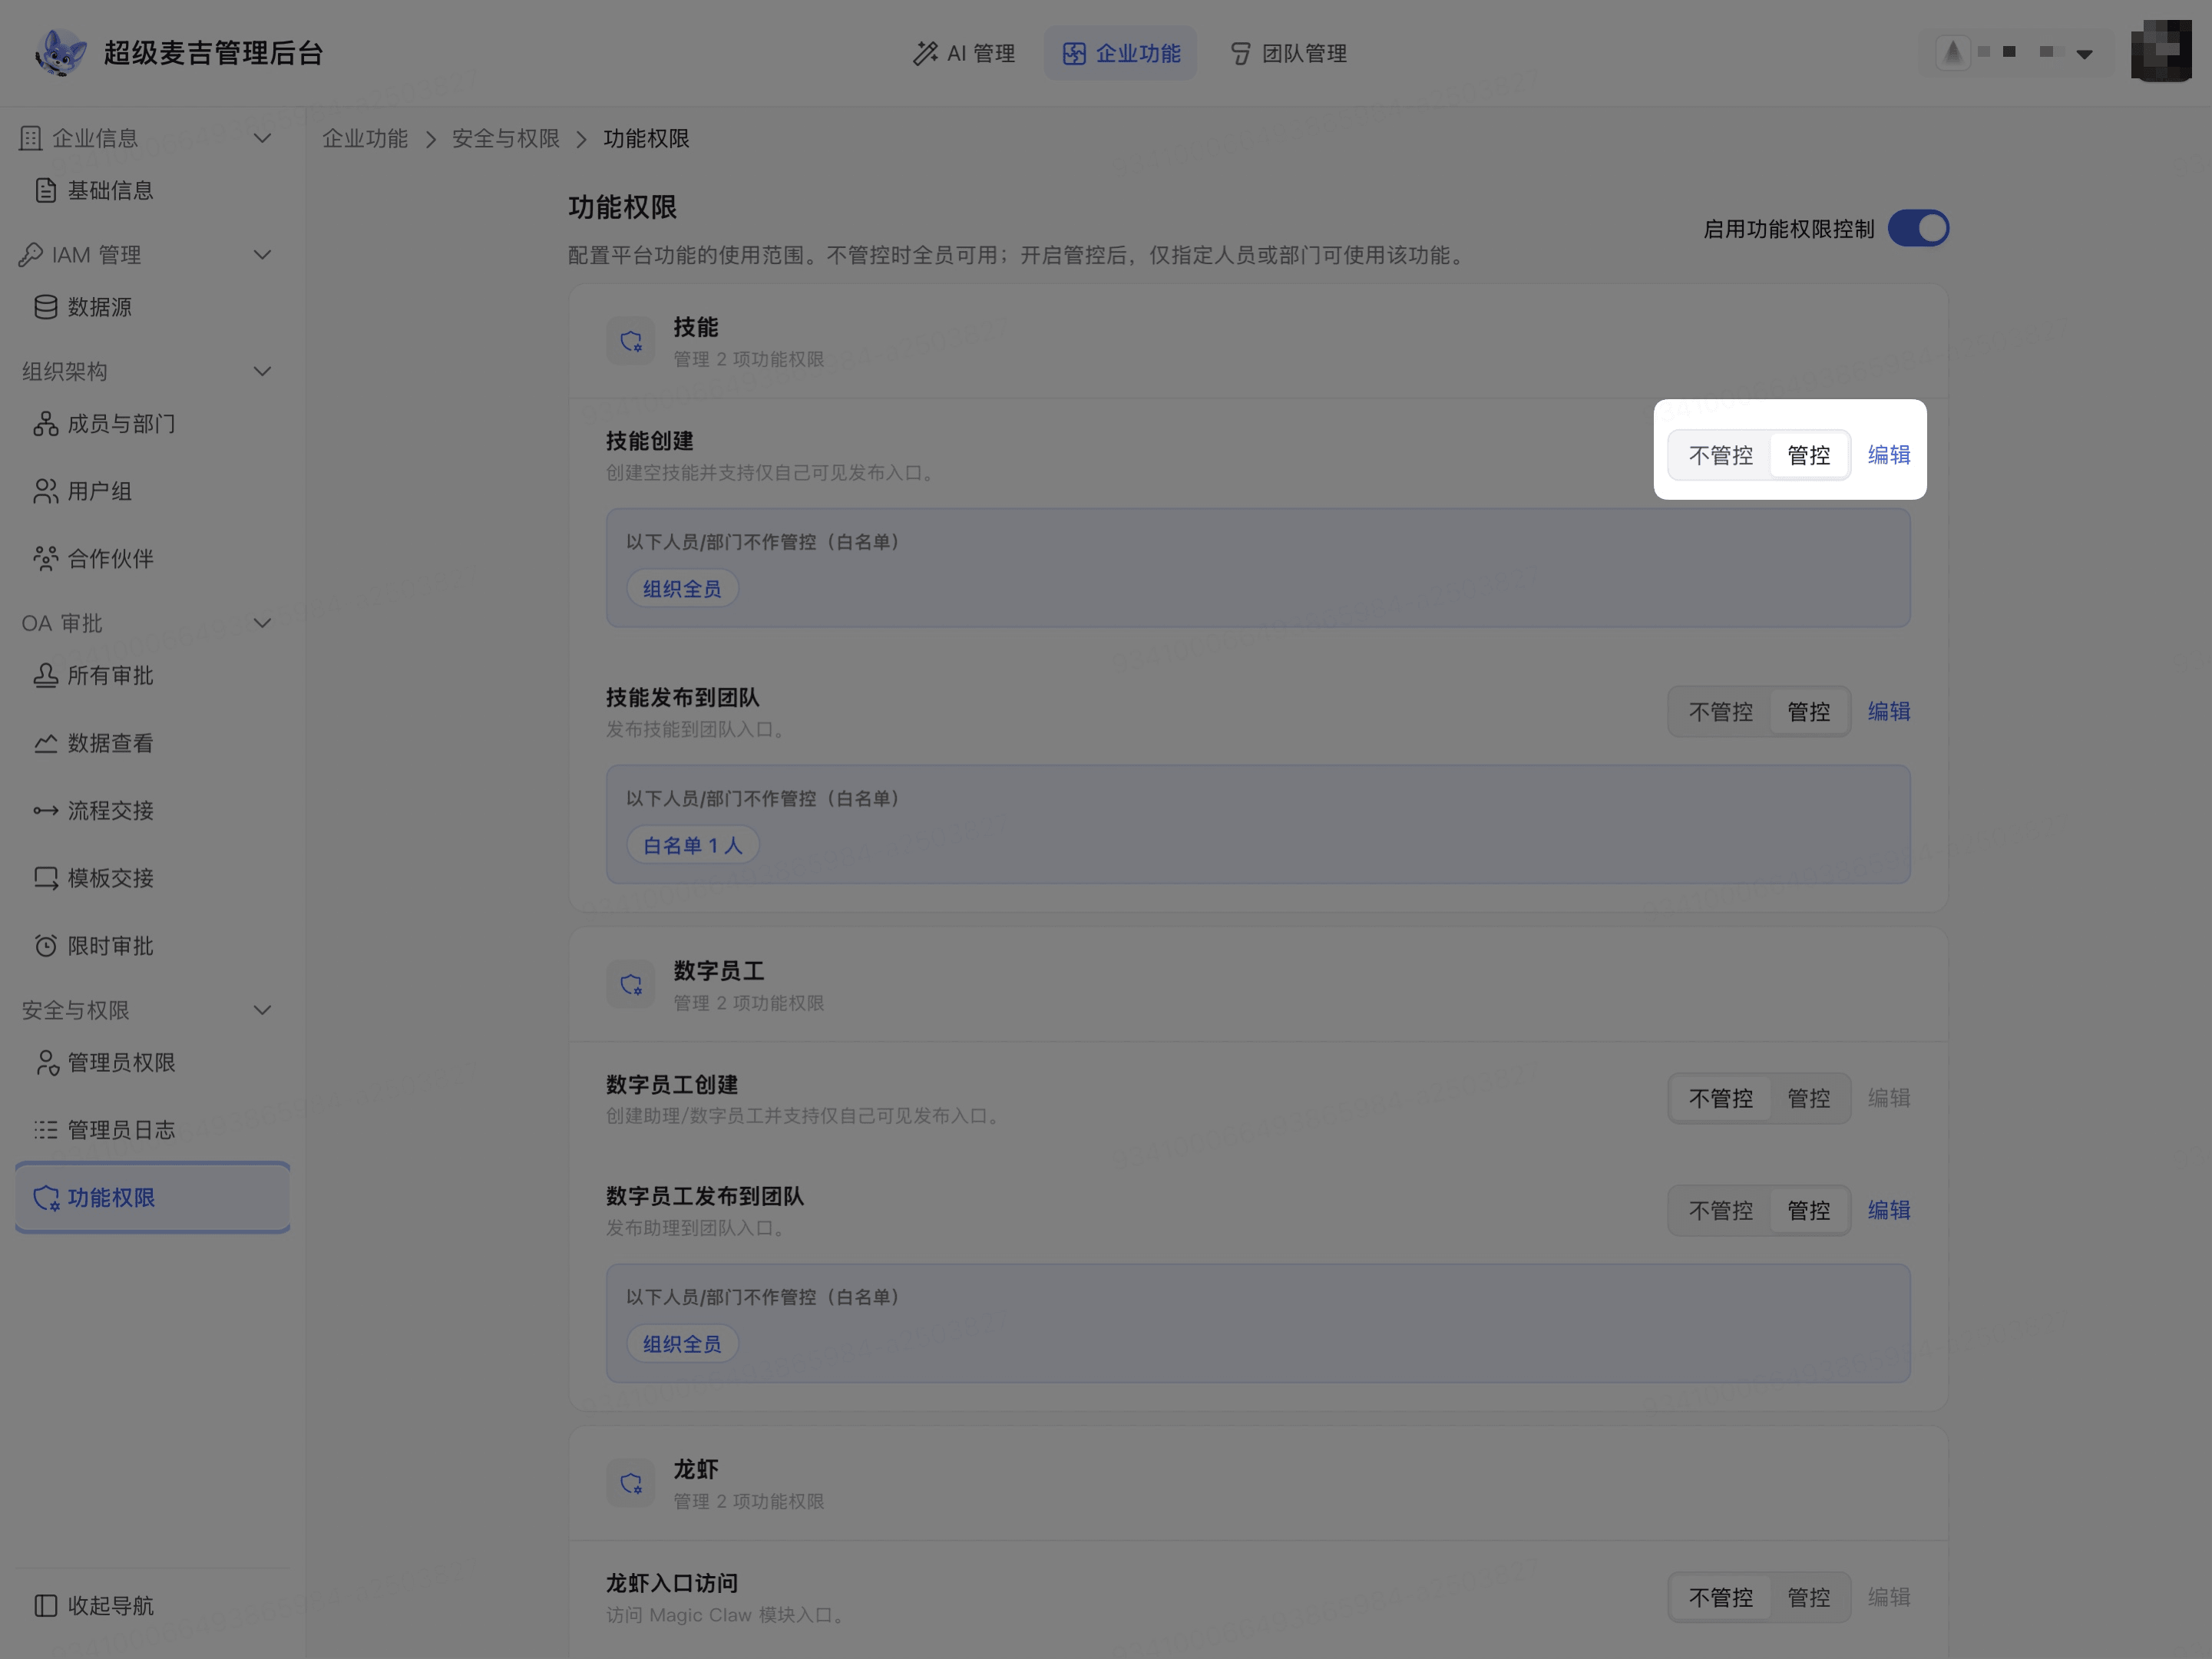
Click Controlled on the right side of the feature.
Click Edit.
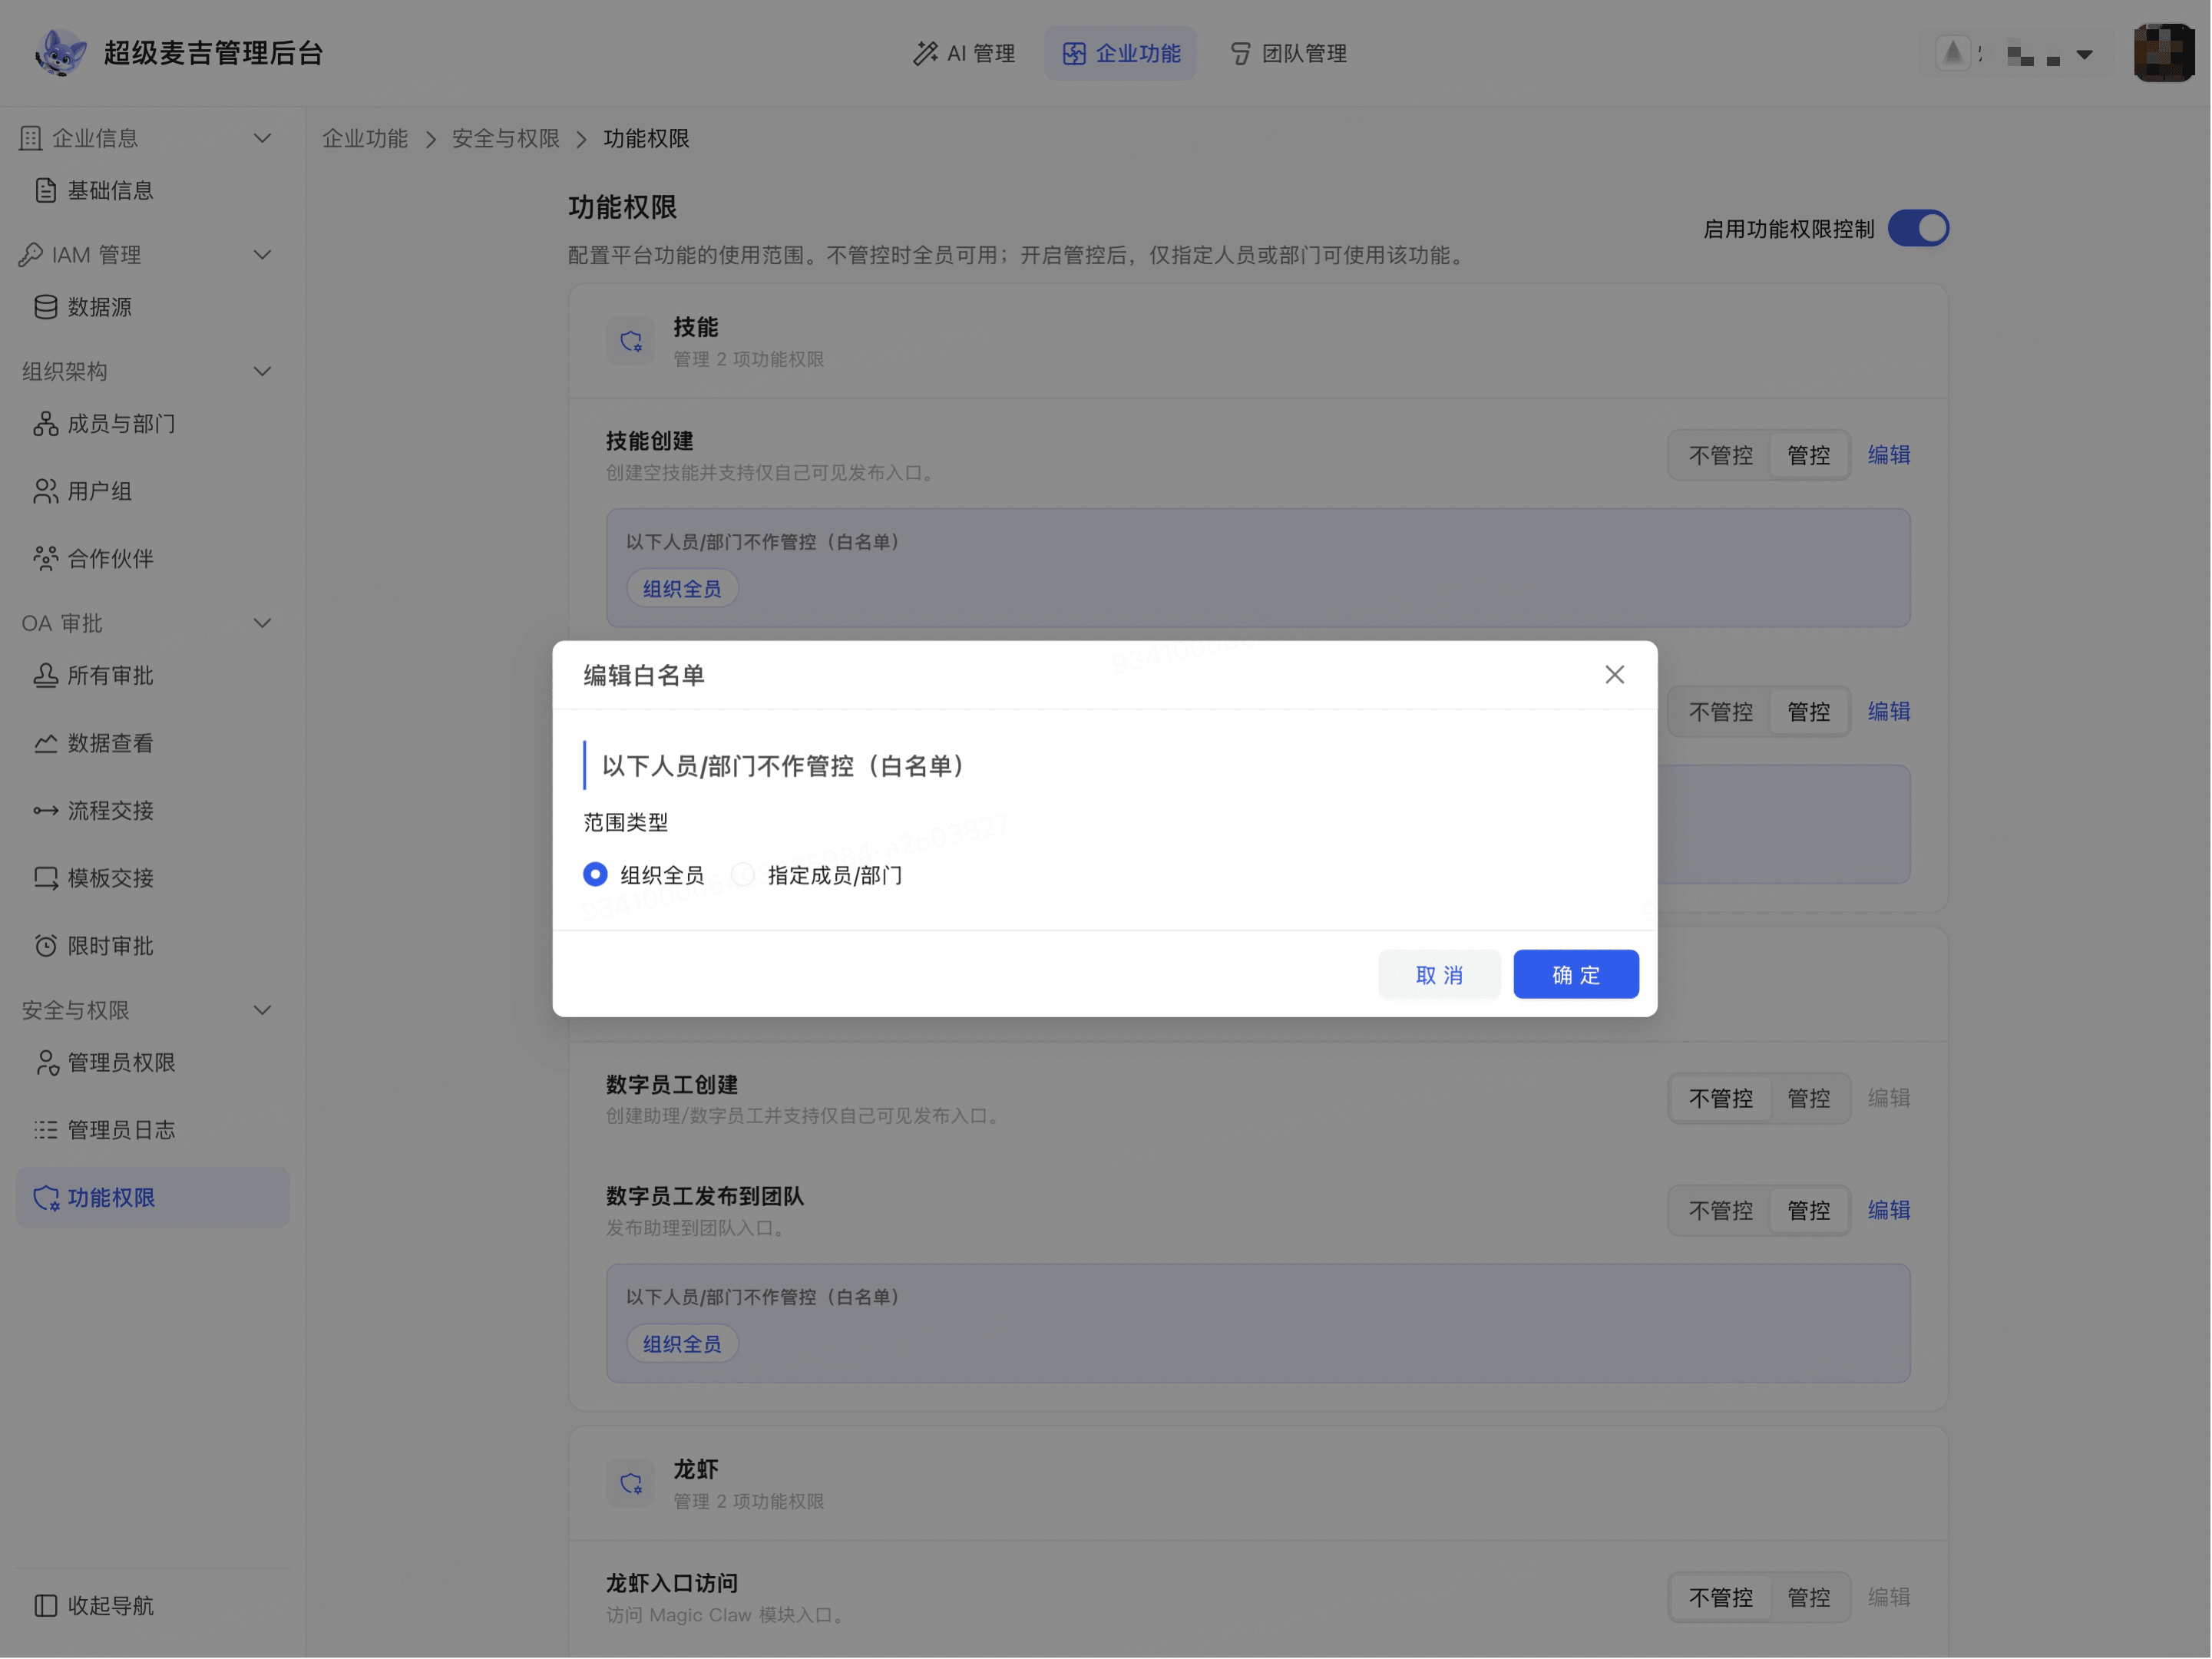
The Edit allowlist window opens. You can select Everyone in the organization or Specific members/departments.
Allow everyone in the organization to use the feature
Select Everyone in the organization under Scope type.
Click Confirm.
The allowlist for the current feature displays Everyone in the organization. Although the feature is in Controlled status, everyone in the enterprise is on the allowlist, so usage is not restricted.
Allow specific members or departments to use the feature
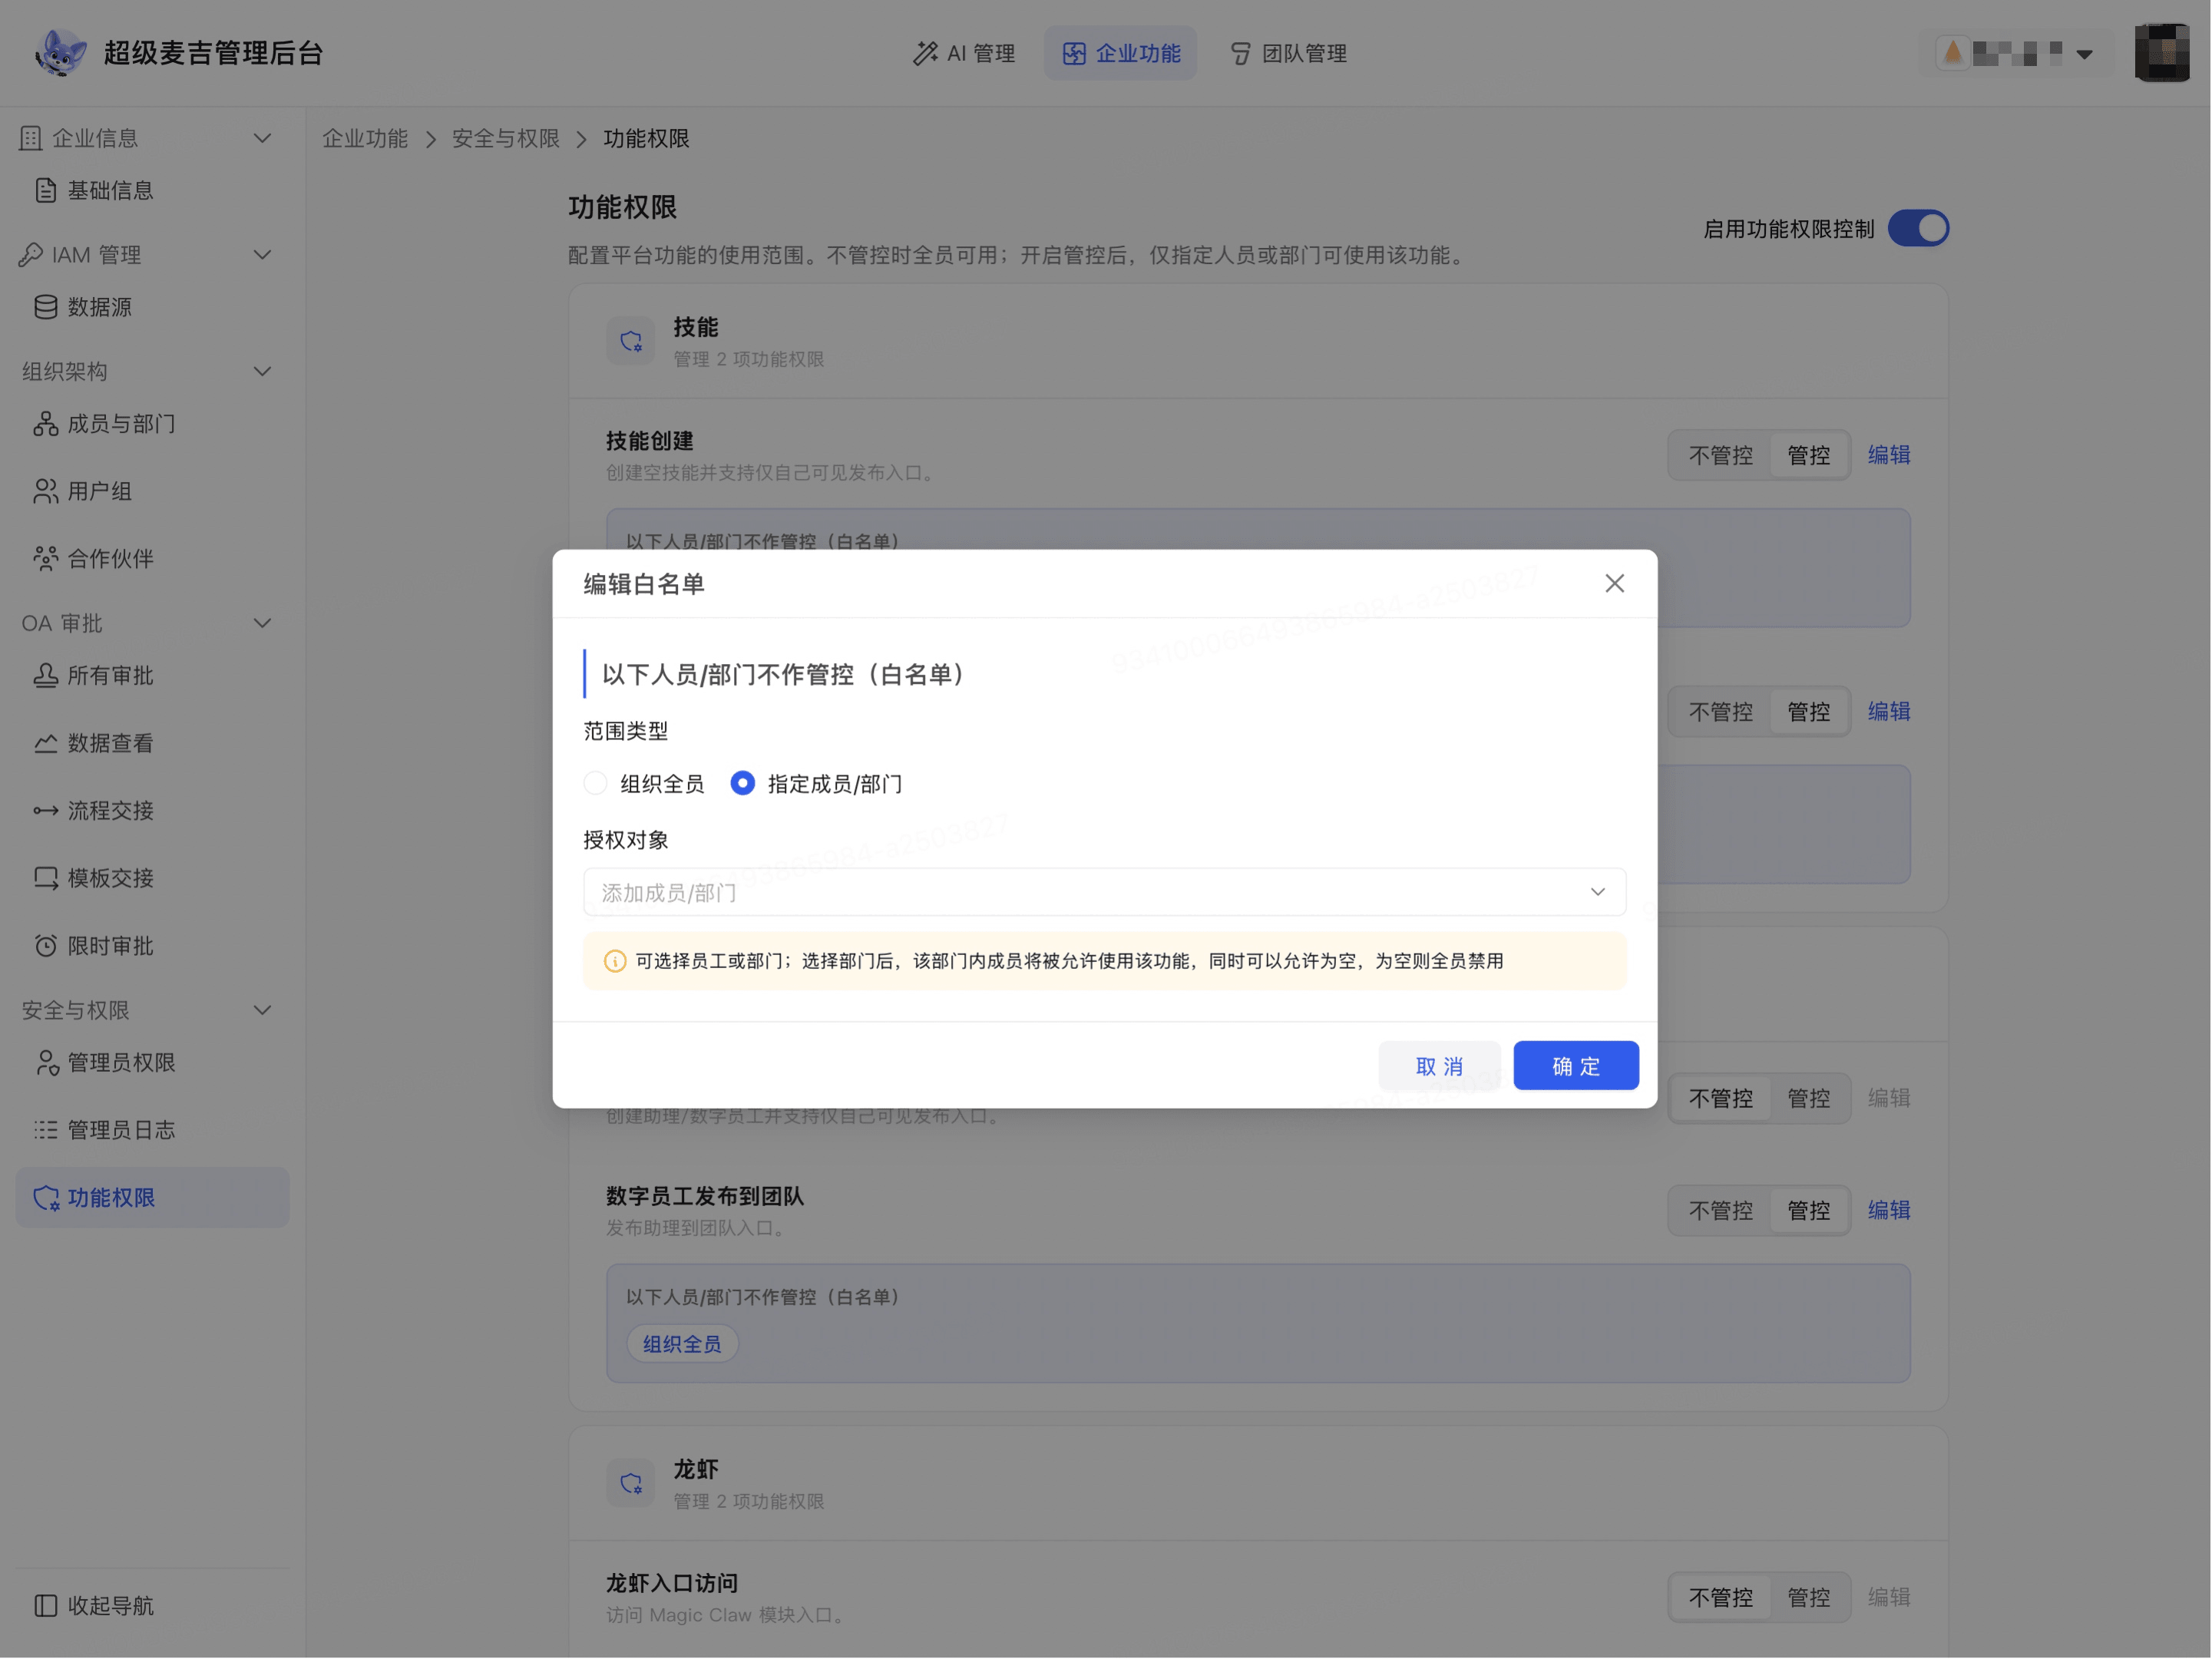
Select Specific members/departments under Scope type.
Click Add members/departments.
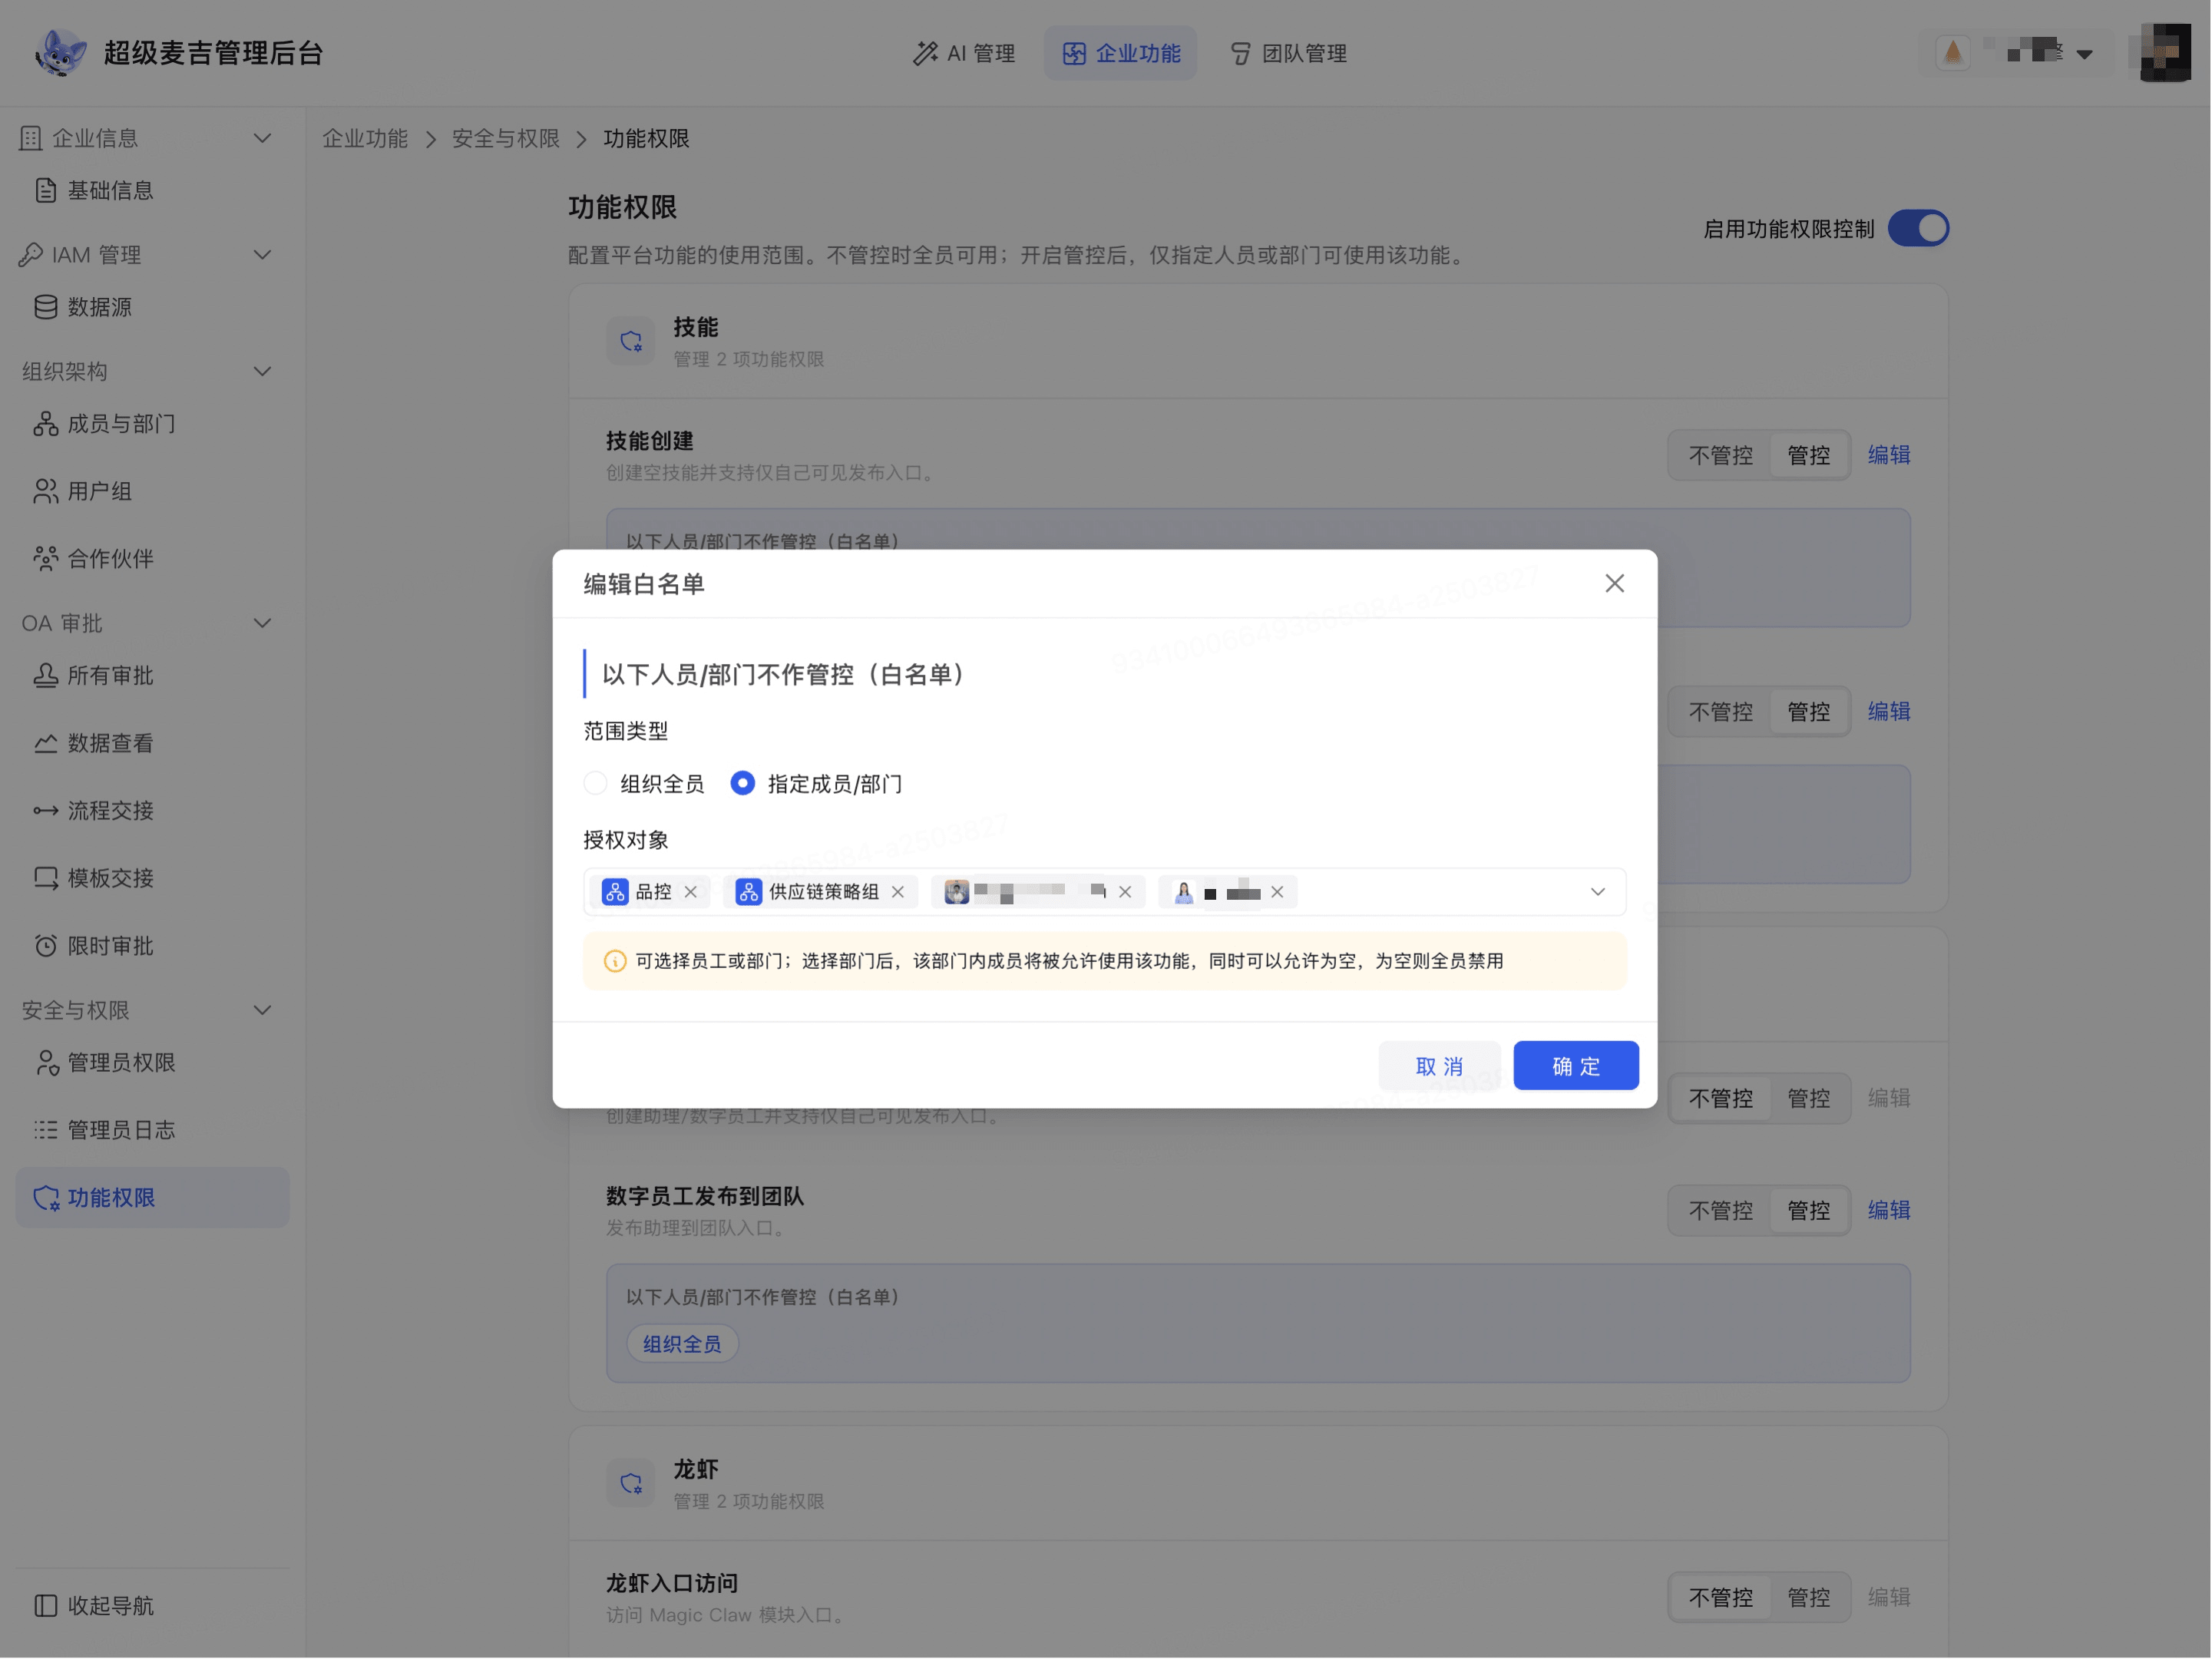
In the Select users window, search for members, or find departments and members by organizational structure.
Select the members or departments to add to the allowlist.
Check the number of selected members and departments displayed on the right.
Click Confirm.
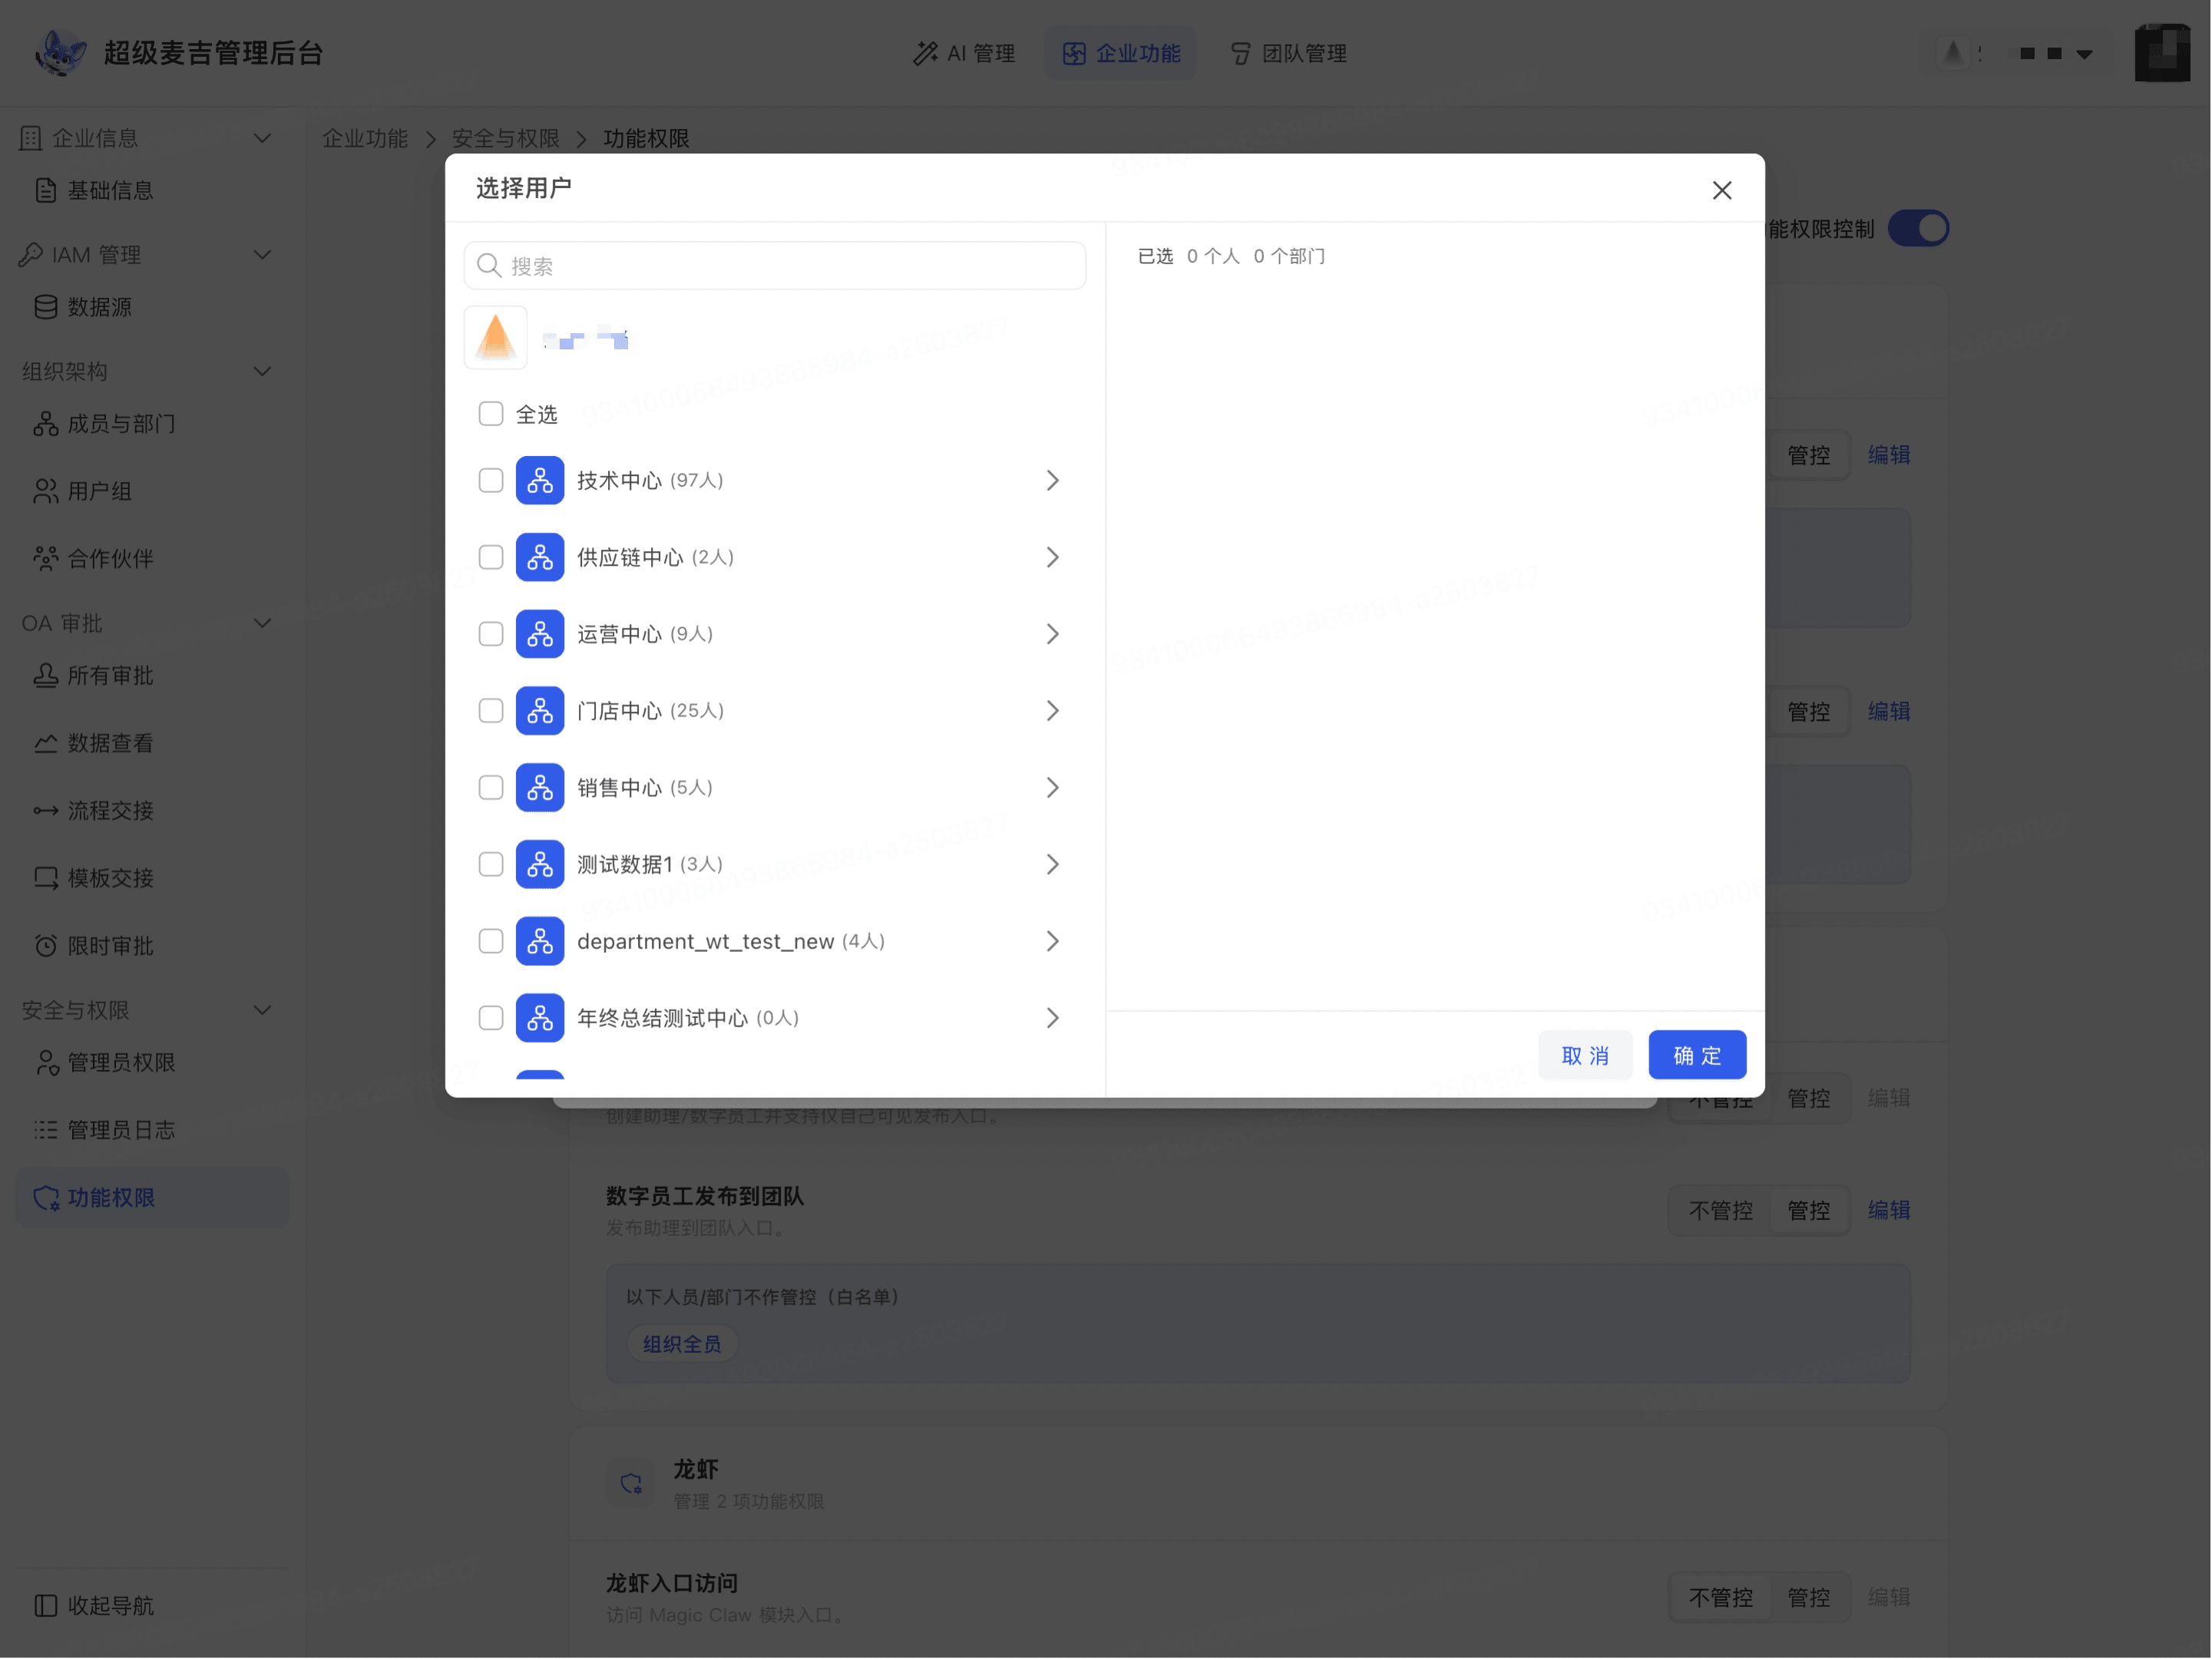
Return to the Edit allowlist window and check the Authorized entities.
Click Confirm.
The feature card displays the number of members on the allowlist. Selected members and members in the selected departments can continue using the feature; other members are subject to the control.
Note: If you select Specific members/departments but do not add any authorized entities, the feature will be unavailable to all members in the current enterprise. Unless you need to temporarily disable the feature, do not confirm while the authorized entities list is empty.
Modify or cancel feature control
Modify the allowlist
Find the feature that is already set to Controlled.
Click Edit on the right side of the feature.
Modify the Scope type or select the authorized entities again.
Click Confirm.
The feature card displays the updated allowlist scope. Before making changes, check changes to departments and members to avoid retaining authorized entities that no longer need access.
Cancel control for an individual feature
Find the feature that you want to make available to everyone again.
Click Uncontrolled on the right side of the feature.
Confirm that the feature no longer displays an allowlist scope that requires maintenance.
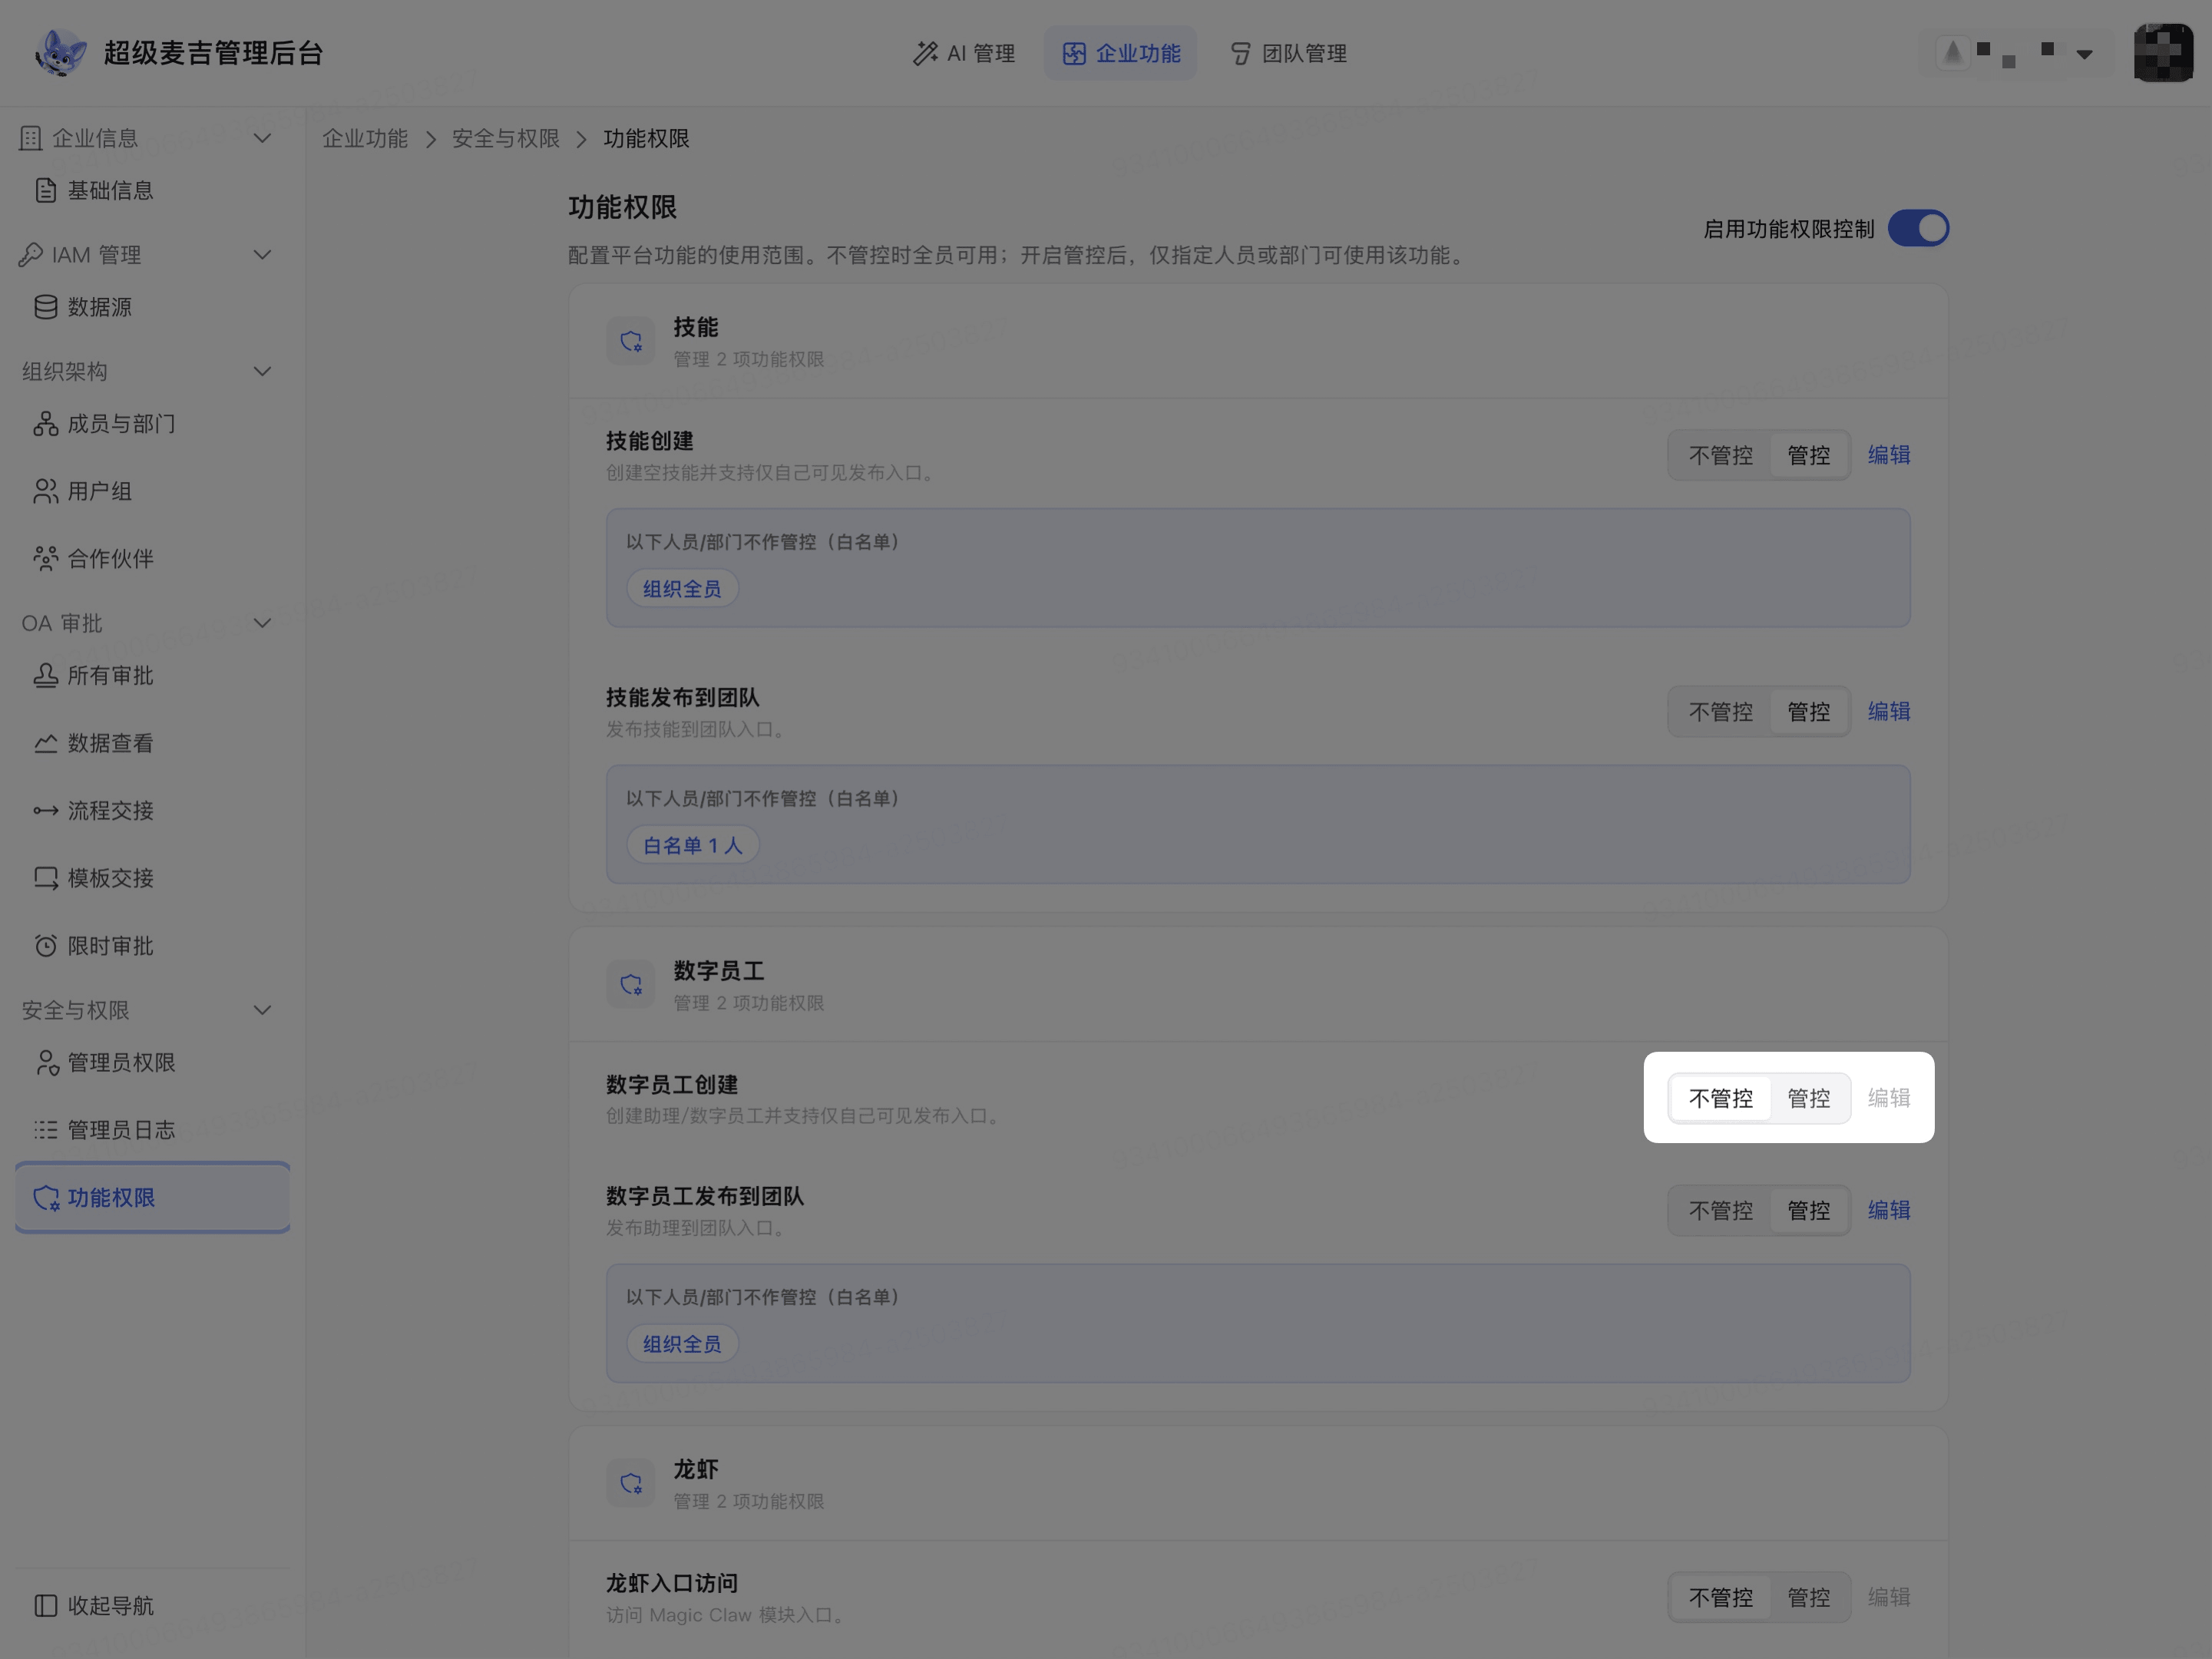
The current feature is available by default to members in the enterprise again. Control settings for other features are not affected.
If you turn off the Enable feature permission control master switch in the upper-right corner of the page, frontend features on the page will be open by default to members in the current enterprise. Before turning it off, confirm that this meets the enterprise's permission management requirements.