
Customize Enterprise Menus
Add enterprise application menus in the admin console and configure the menu link, opening method, visible members, display order, and enabled status.
Add enterprise application menus in the admin console and configure the menu link, opening method, visible members, display order, and enabled status.
Before you begin
Sign in to SuperMagic and open the admin console for the enterprise you want to configure.
Confirm that the correct enterprise is currently selected.
Confirm that the current account has permission to manage application menus under AI Management.
Prepare the menu name, menu icon, and a menu link that opens normally.
Confirm whether the menu should be available to all enterprise members or only specified members or departments.
Confirm the menu's display priority and planned enablement time.
Menu configurations apply only to the current enterprise. Before adding or disabling frequently used menus, confirm whether doing so will affect application entry points that members are currently using.
Open the Application Menu page
In the top navigation of the admin console, click AI Management.
Expand Application Configuration in the left navigation.
Click Application Menu.
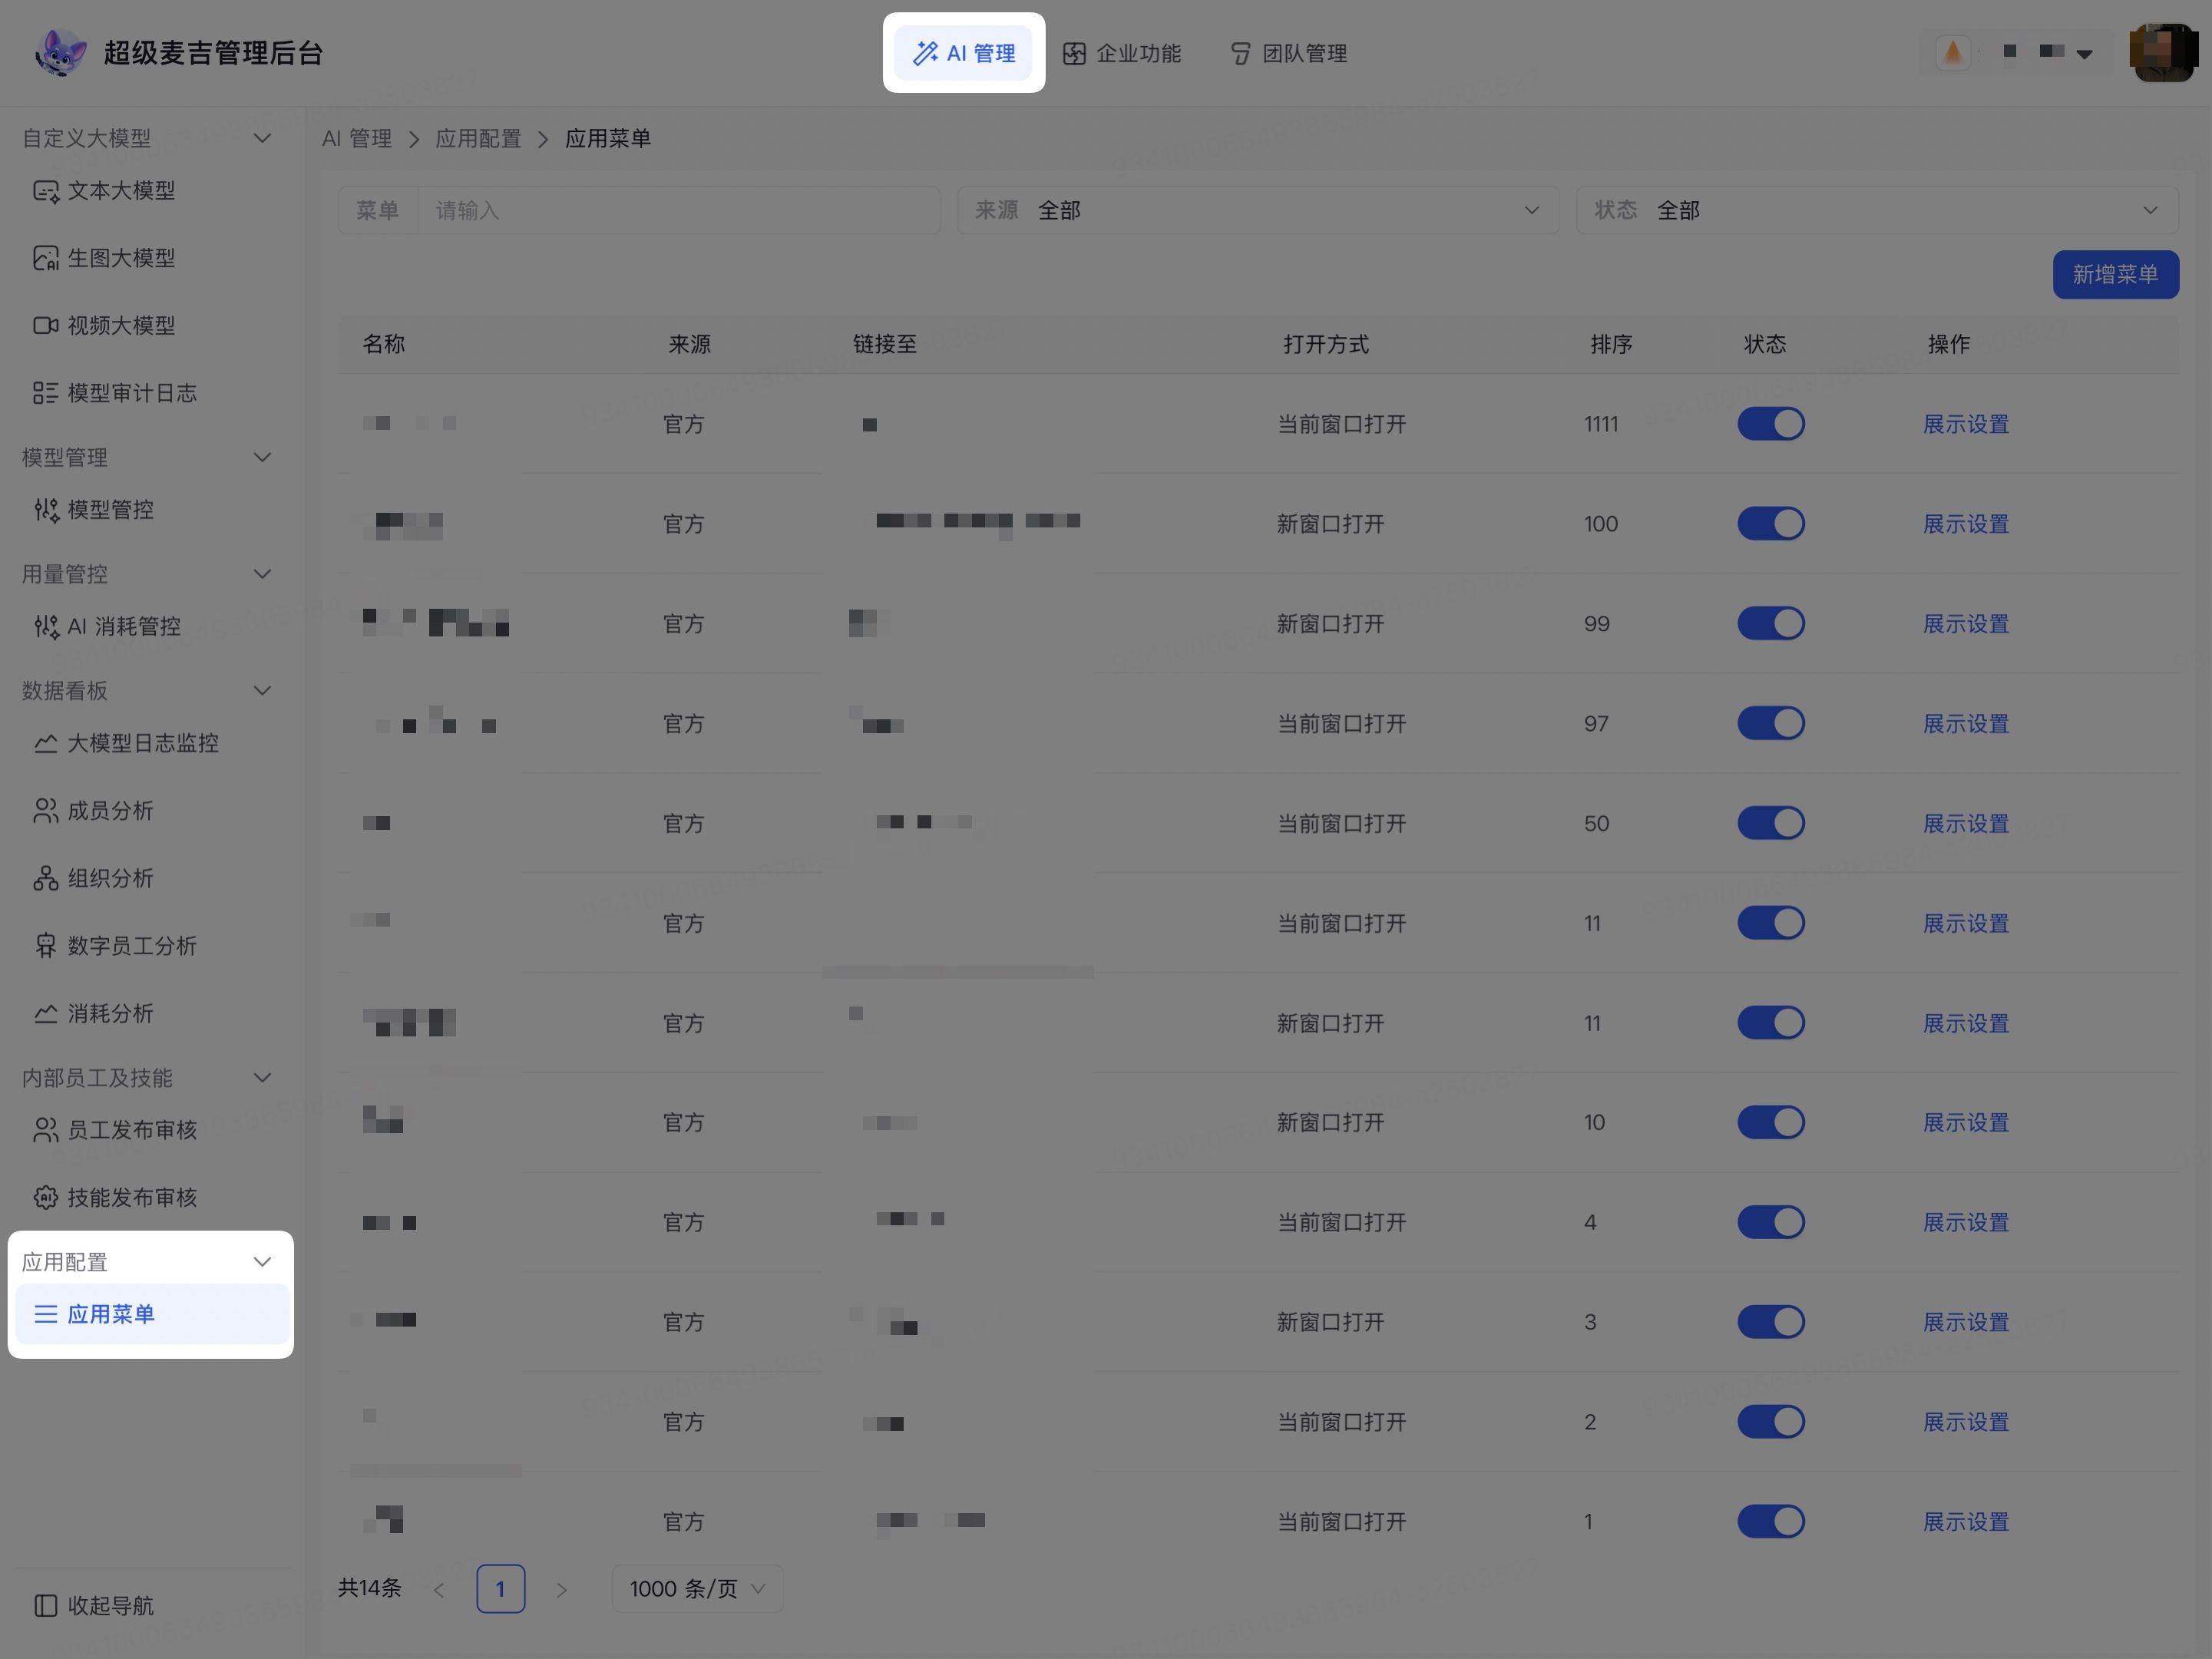
The page displays the application menus that can be managed for the current enterprise, including the menu name, source, link, opening method, display order, and status.
Find enterprise menus
Find by name
Enter the menu name in the Menu input field at the top of the page.
Review the filtered menu list.
Filter by source
Click Source.
Select the source you want to view:
Official: Menus preset by the system.
Custom: Menus added by administrators of the current enterprise.
All: View both official and custom menus.
Filter by status
Click Status.
Select Enabled or Disabled.
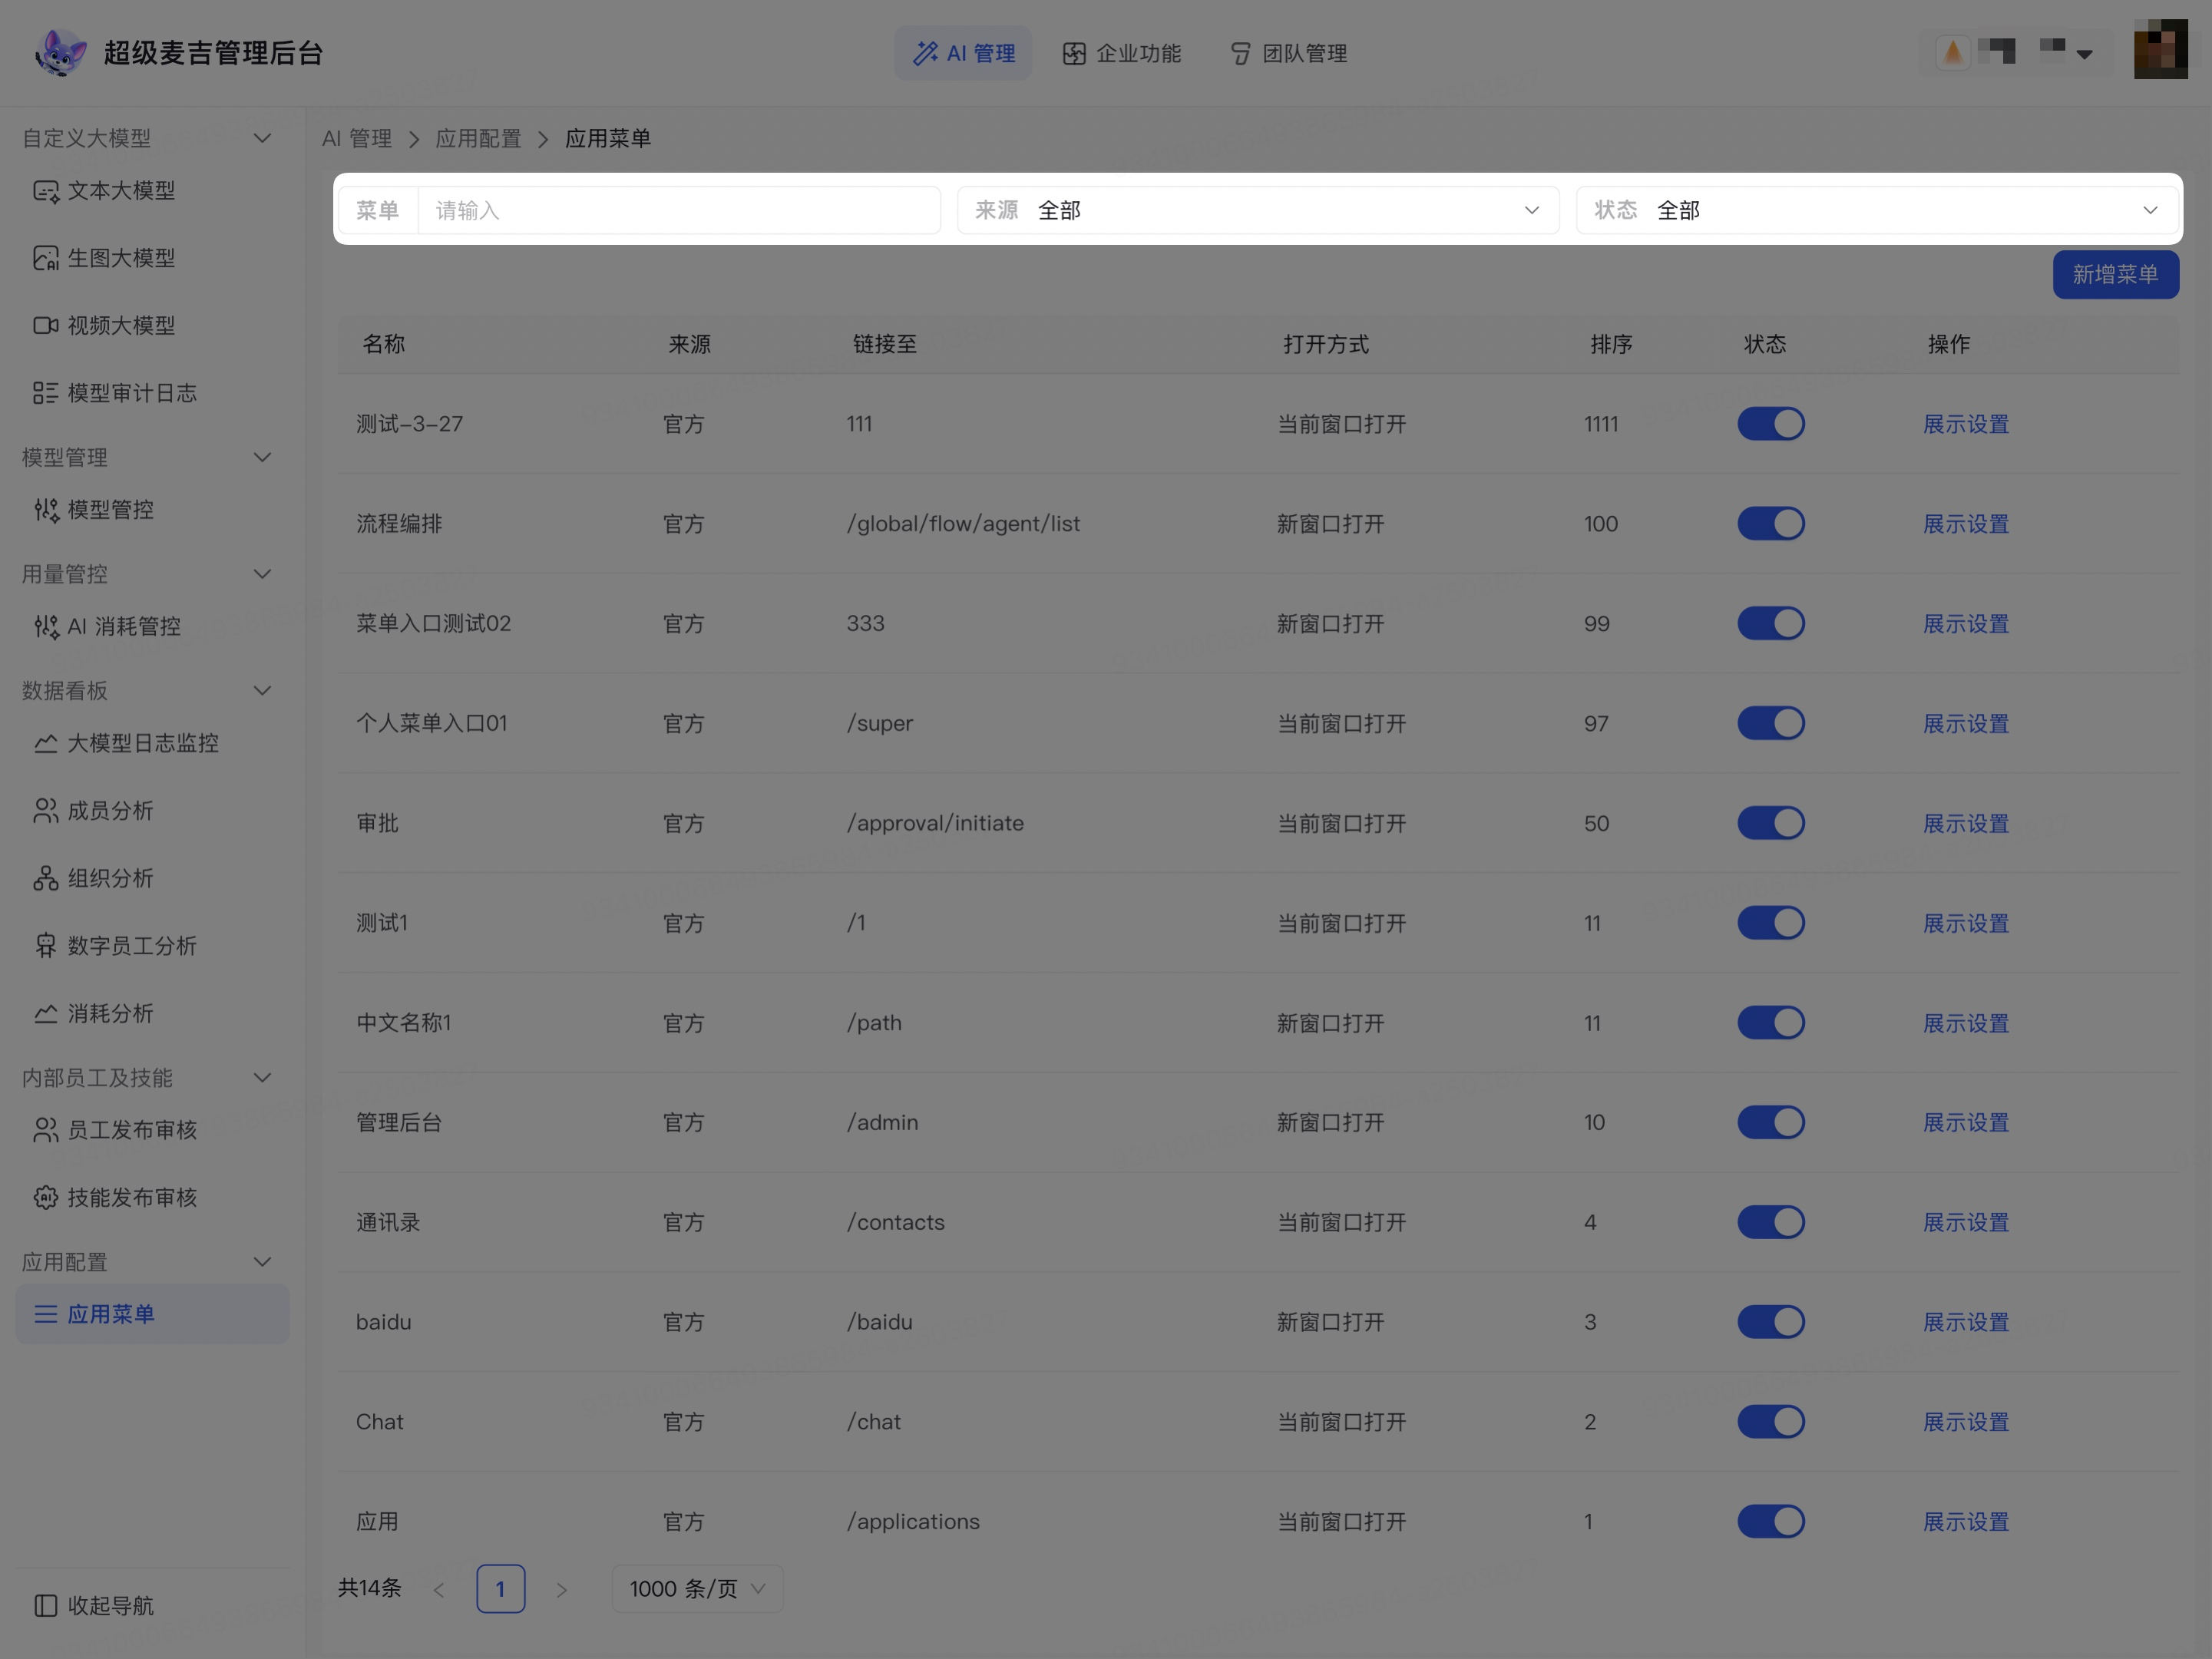
The list displays menus that match the current name, source, and status criteria.
Add a menu visible to all members
Click Add Menu in the upper-right corner of the page.
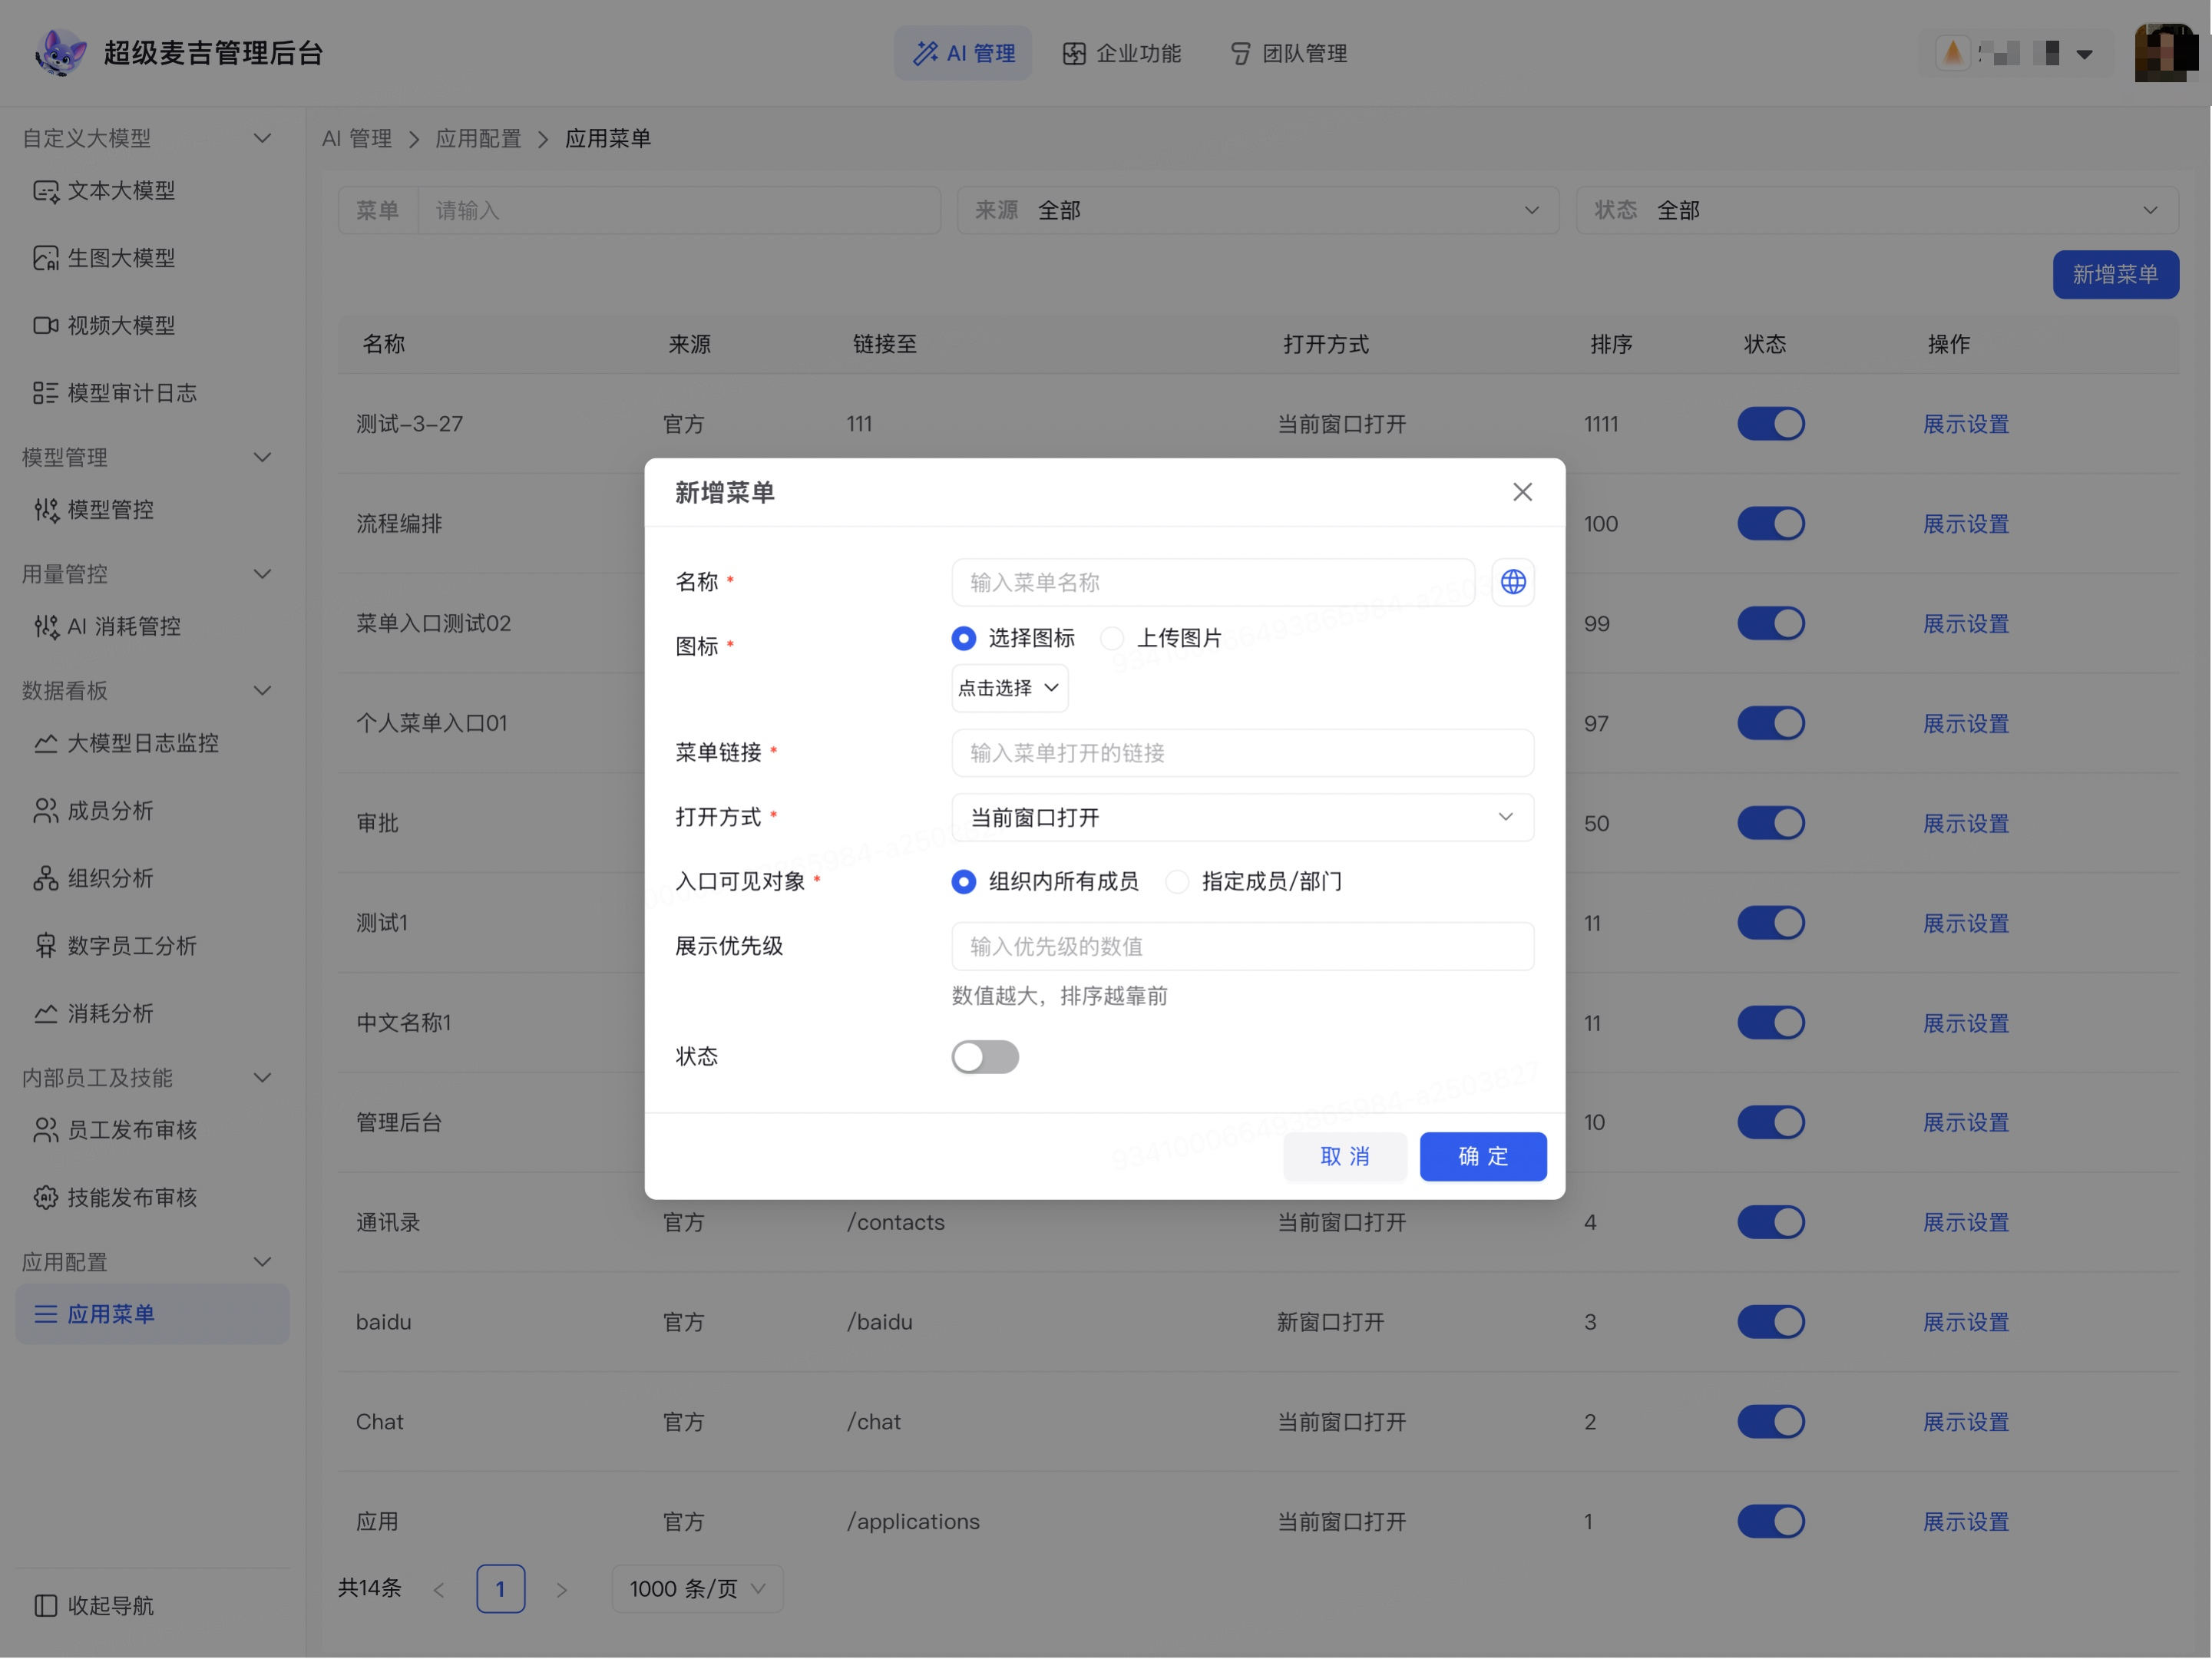
Enter the menu name displayed on the member side in Name.
Select a system icon or upload a custom image in Icon.
Enter the path or link that opens the menu in Menu Link.
Select Open in current window or Open in new window in Opening Method.
Select All members in the organization in Entry Visibility.
Enter a value in Display Priority.
Turn on the Status toggle.
Check the required information.
Click Confirm.
The new menu appears in the application menu list for the current enterprise. After the menu is enabled, enterprise members can see it at the corresponding application entry point.
Check the menu link and opening method before saving. An incorrect link prevents members from accessing the target page after they see the menu.
Set visibility for specified members or departments
Click Add Menu.
Enter the menu name, icon, link, and opening method.
Select Specified Members/Departments in Entry Visibility.
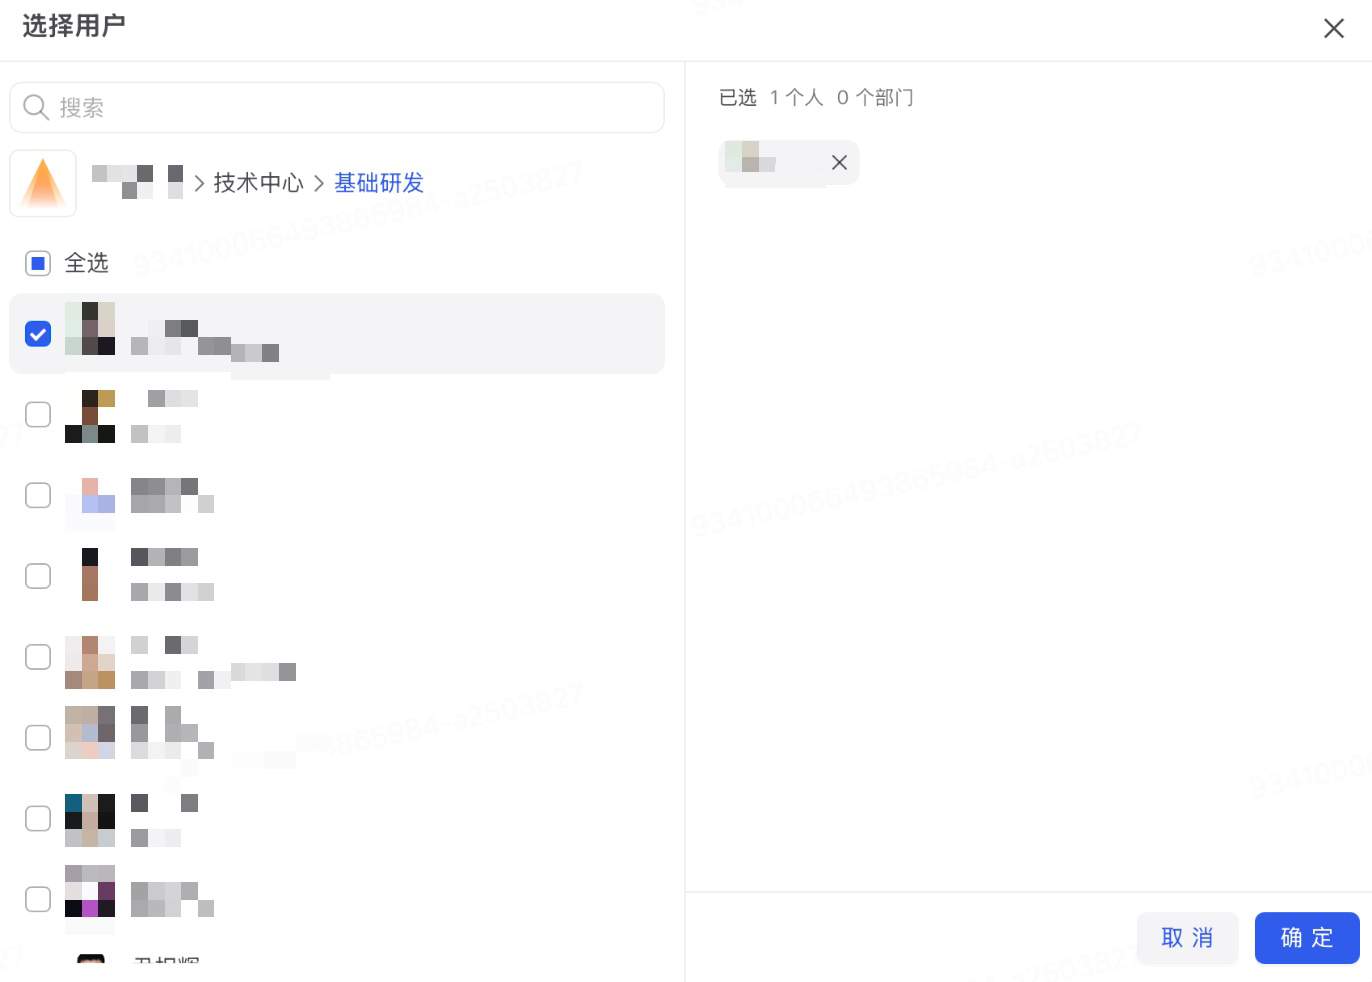
Click the member or department selector.
Search for members or find departments by browsing the organizational structure.
Select the members or departments that need to see the menu.
Check the selected objects displayed on the right.
Click Confirm to return to the Add Menu window.
Set Display Priority and Status.
Click Confirm.
Only the selected members and members within the selected departments can see the menu. When selecting a department, confirm whether it includes members who do not need to use the application.
Adjust the menu order and status
Adjust display settings
Find the target menu in the menu list.
Click Display Settings on the right side of the row.
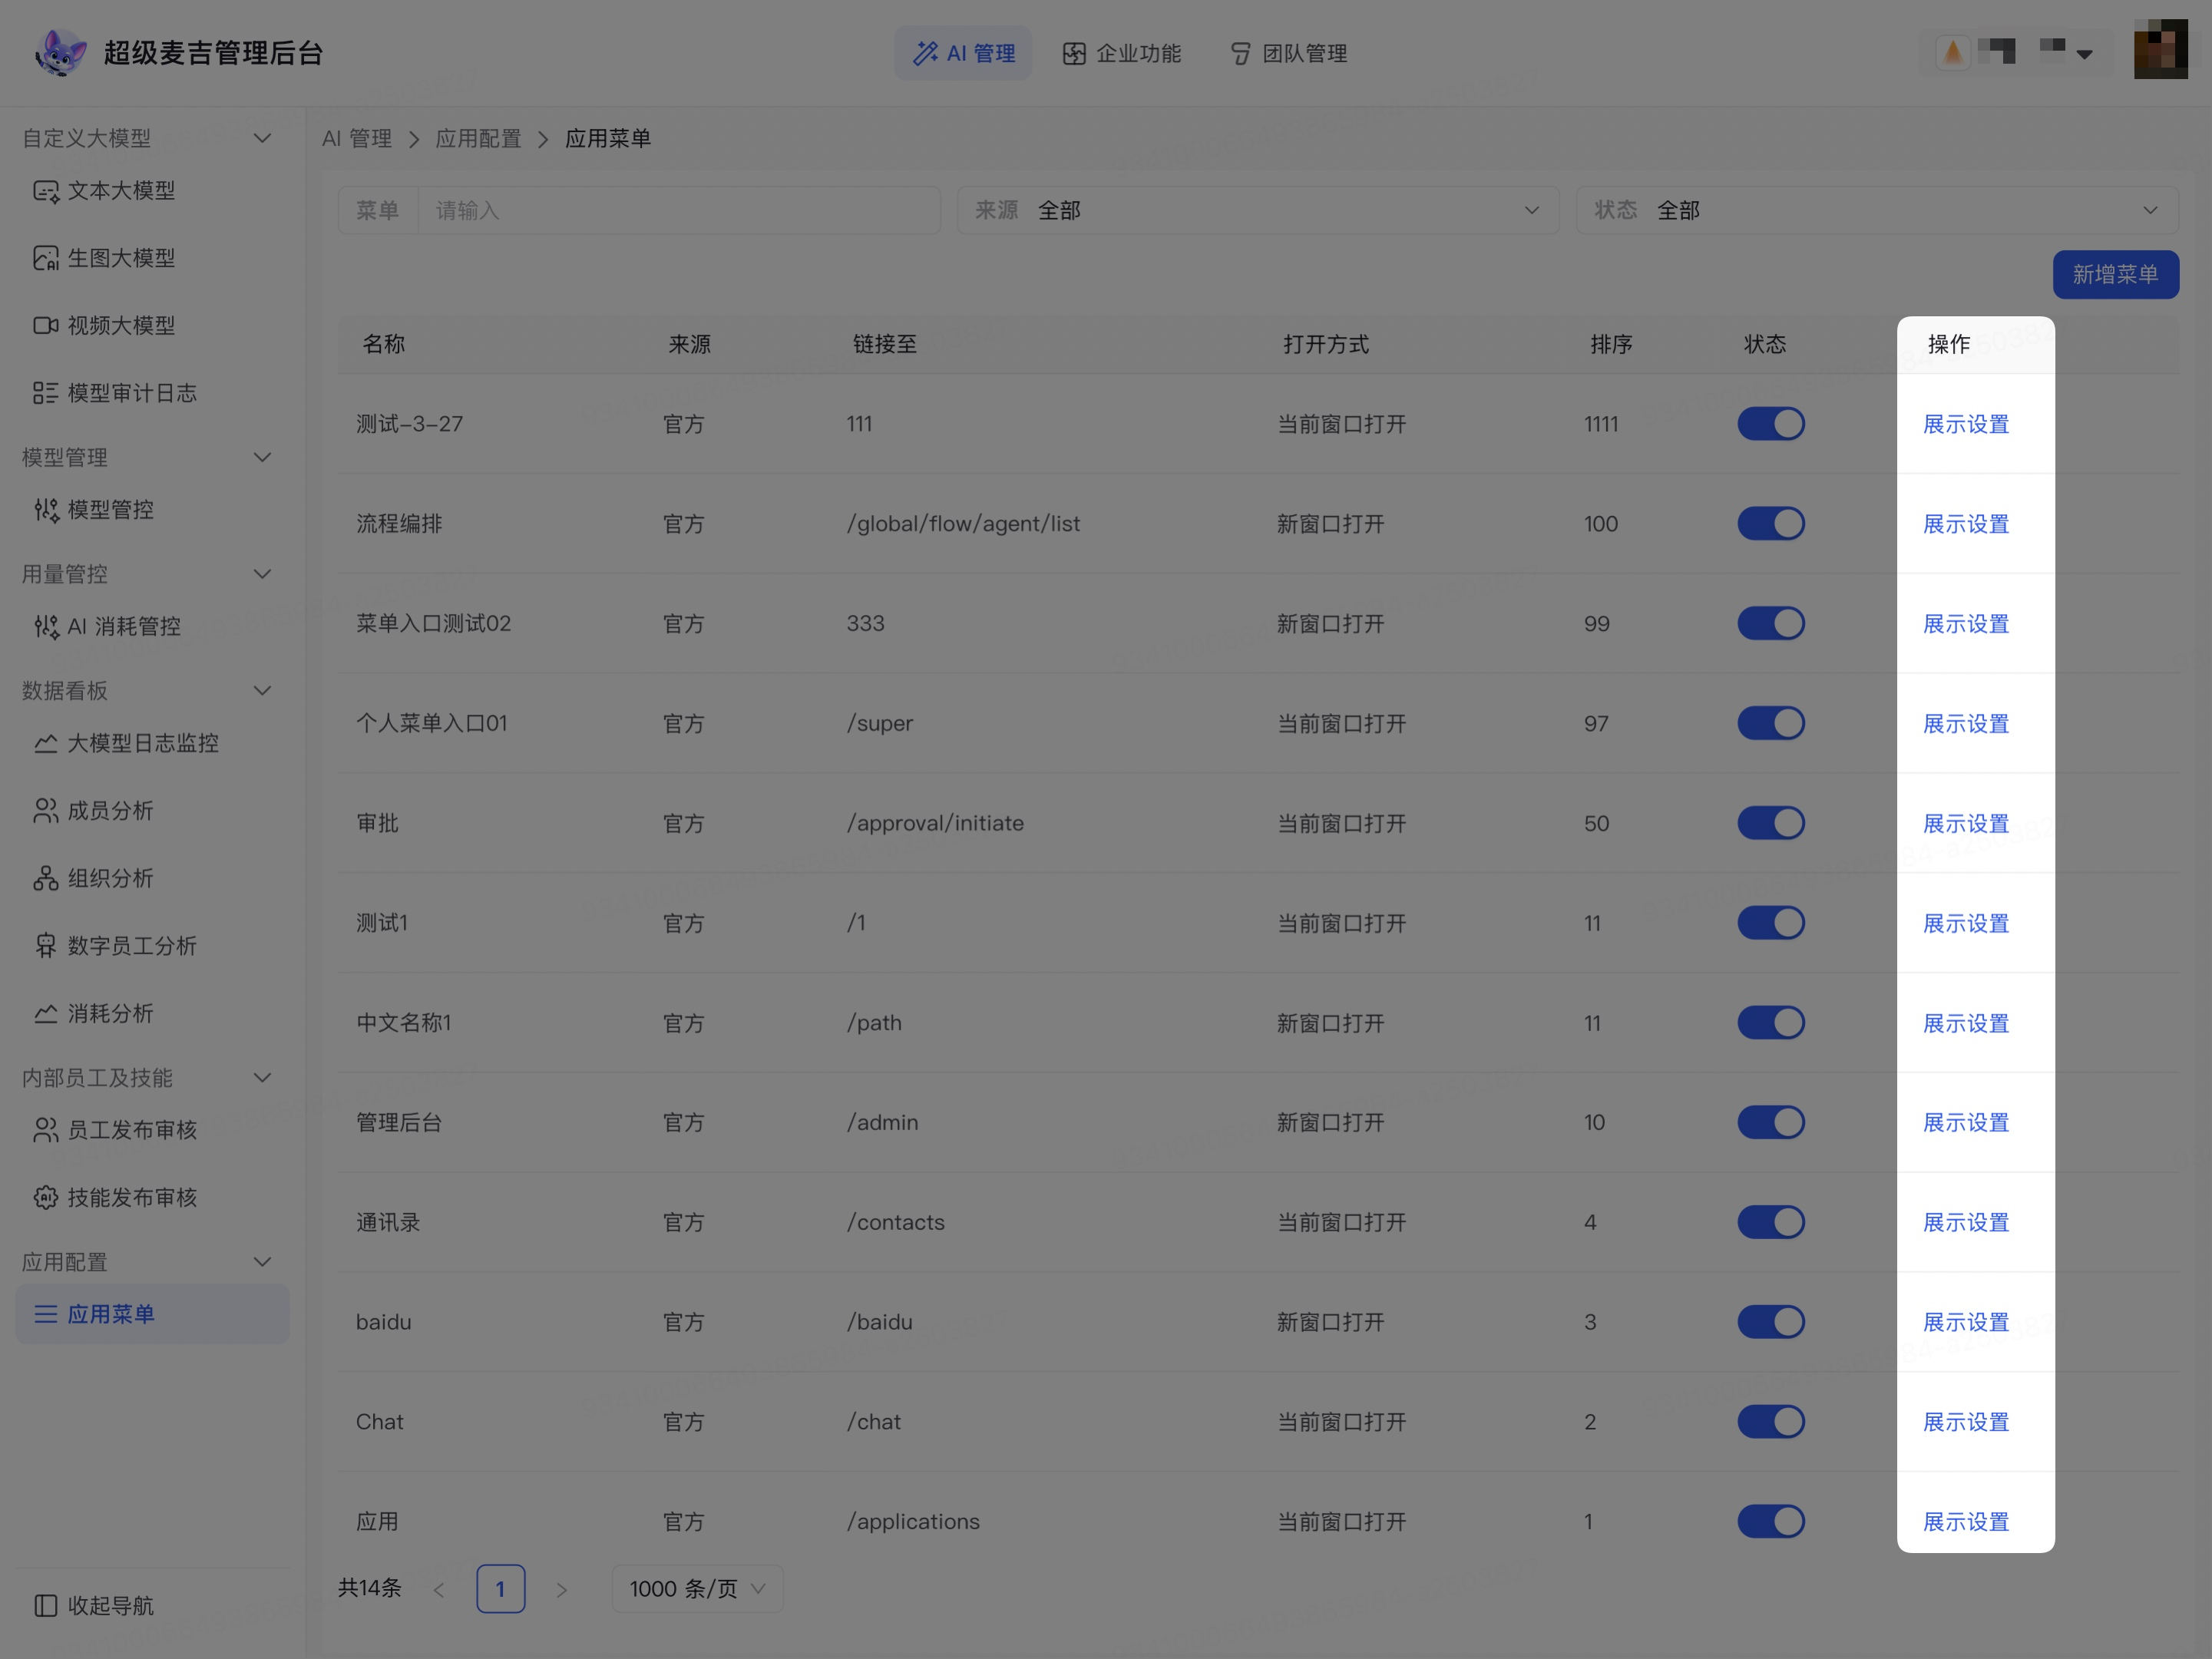
Modify Display Priority.
Turn the Status toggle on or off as needed.
Click Confirm.
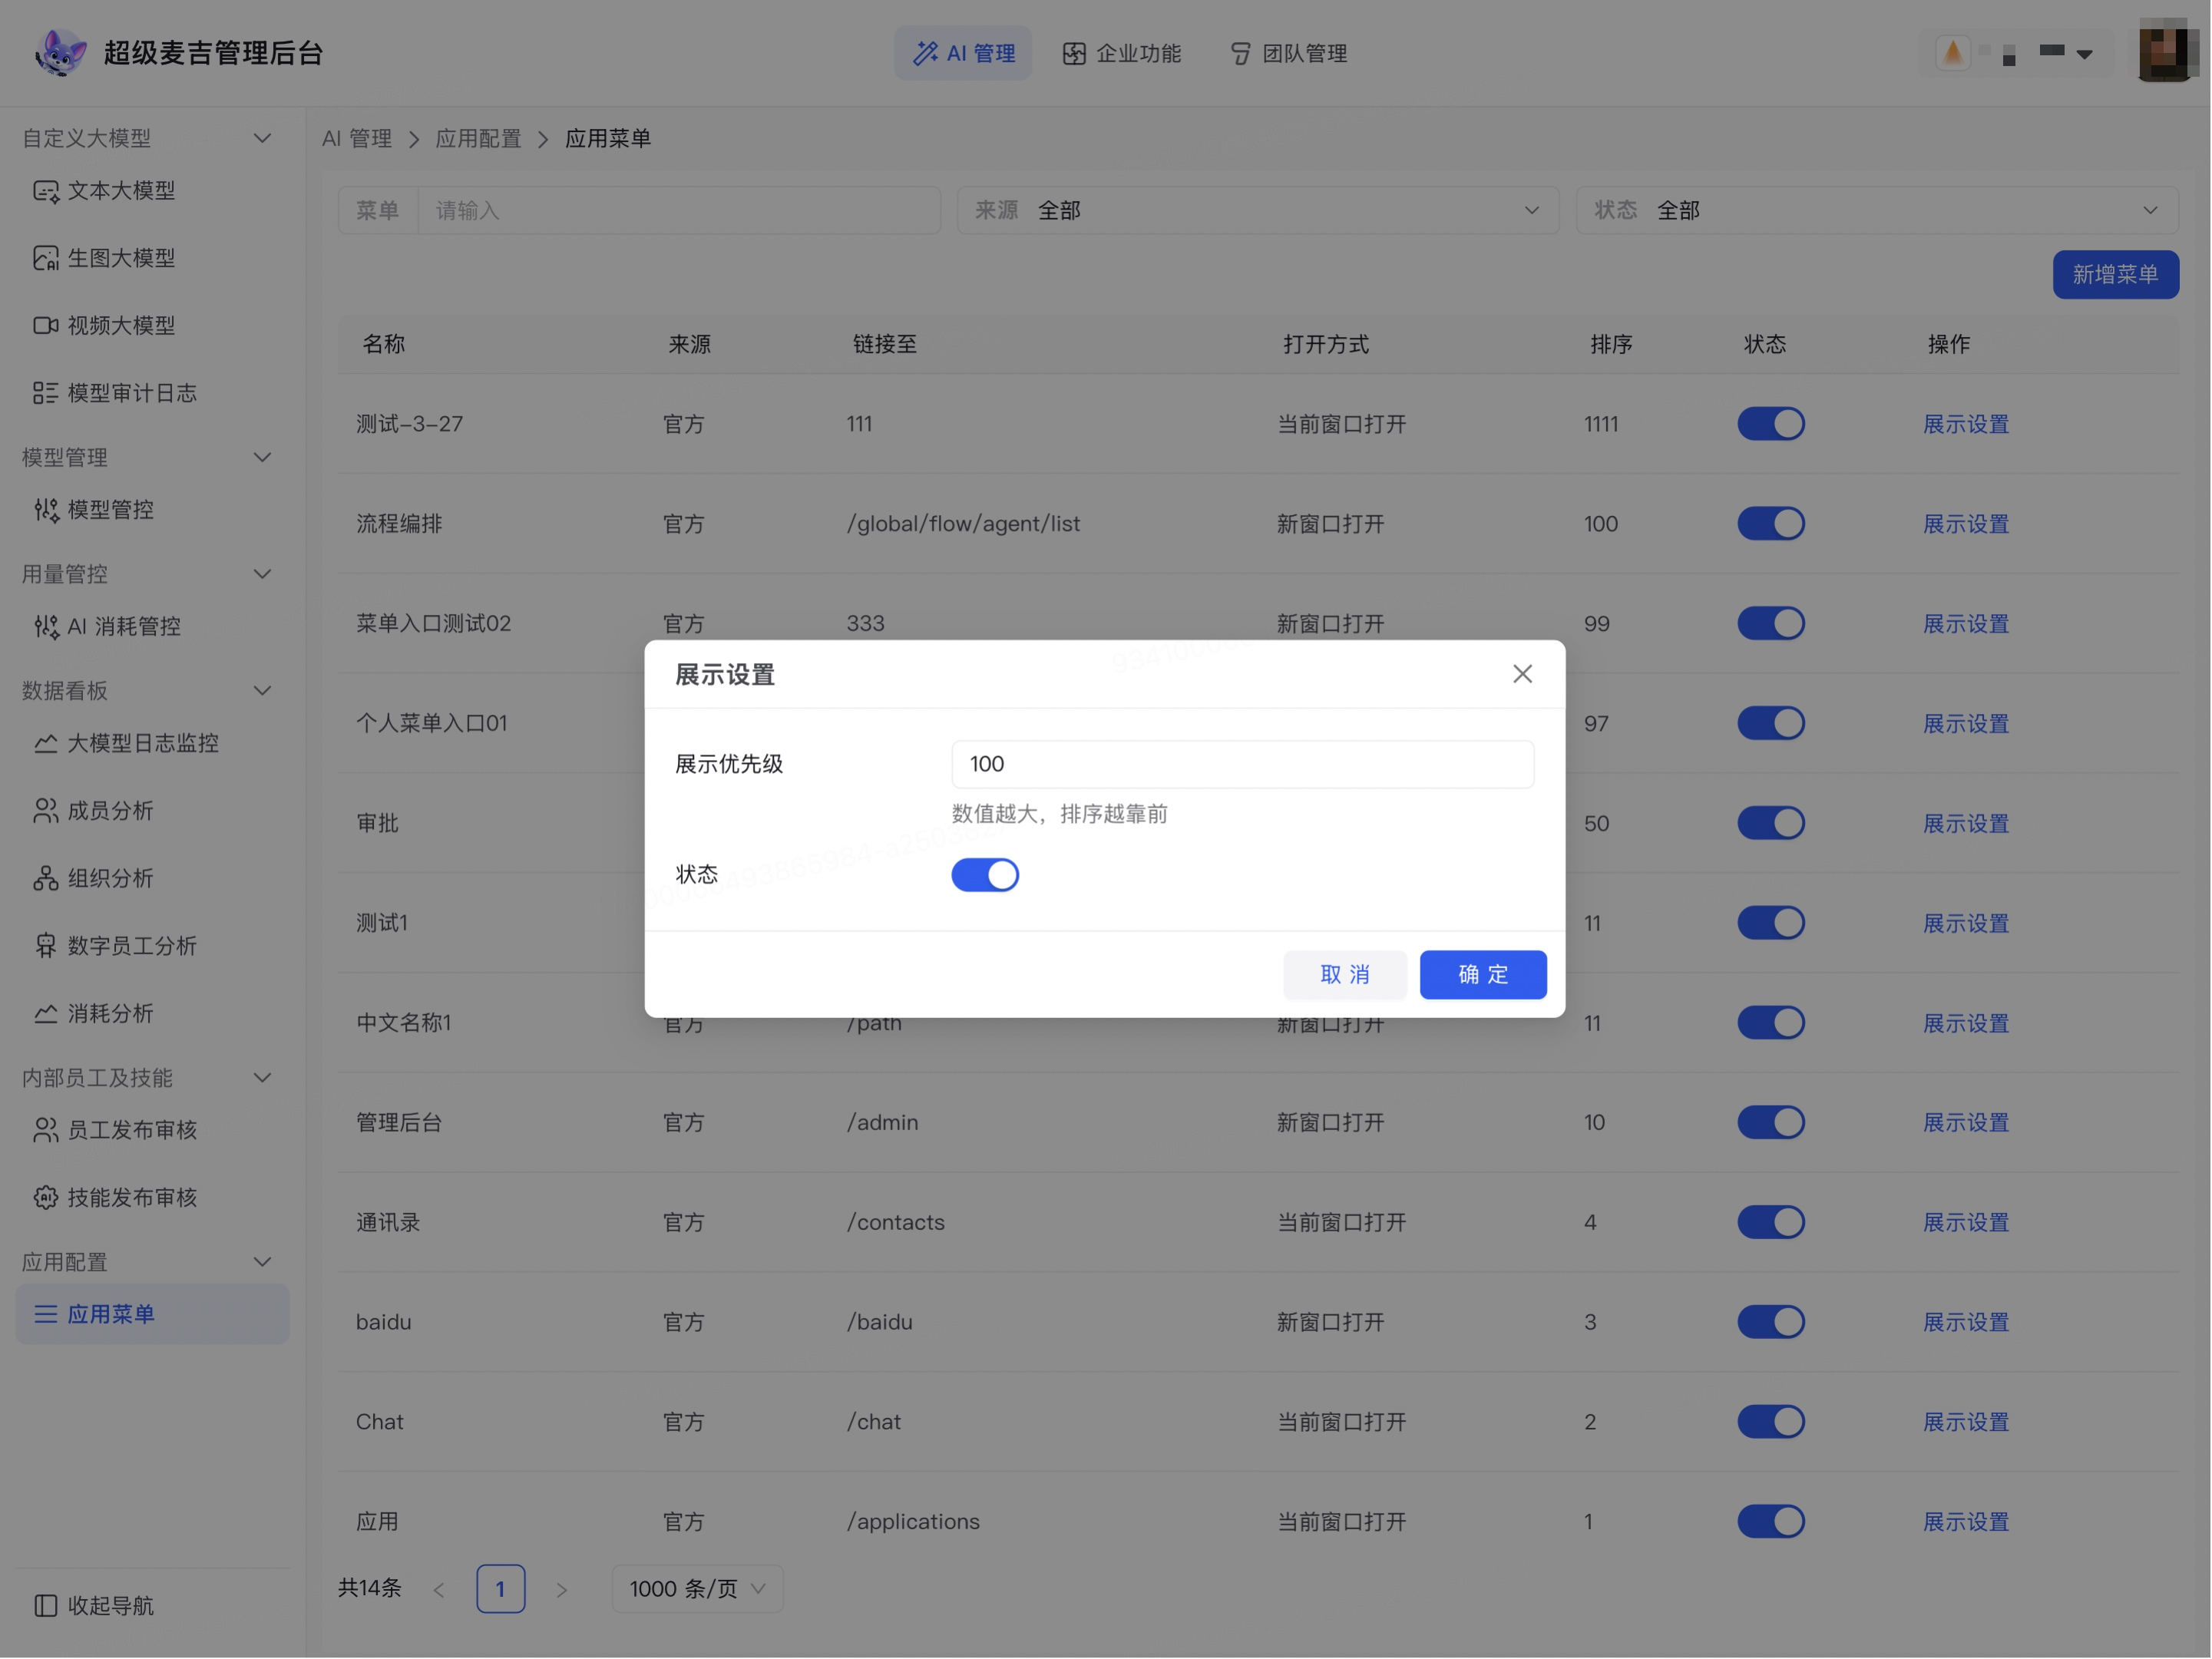
The page indicates that a higher display priority value places the menu closer to the front of the list. When multiple menus have similar priority values, verify the order based on the actual arrangement on the member side.
Quickly enable or disable a menu
Click the Status toggle in the menu list to enable or disable a menu:
Turn on the toggle: The menu is displayed to members according to the visibility settings.
Turn off the toggle: The menu is no longer displayed as an available entry point.
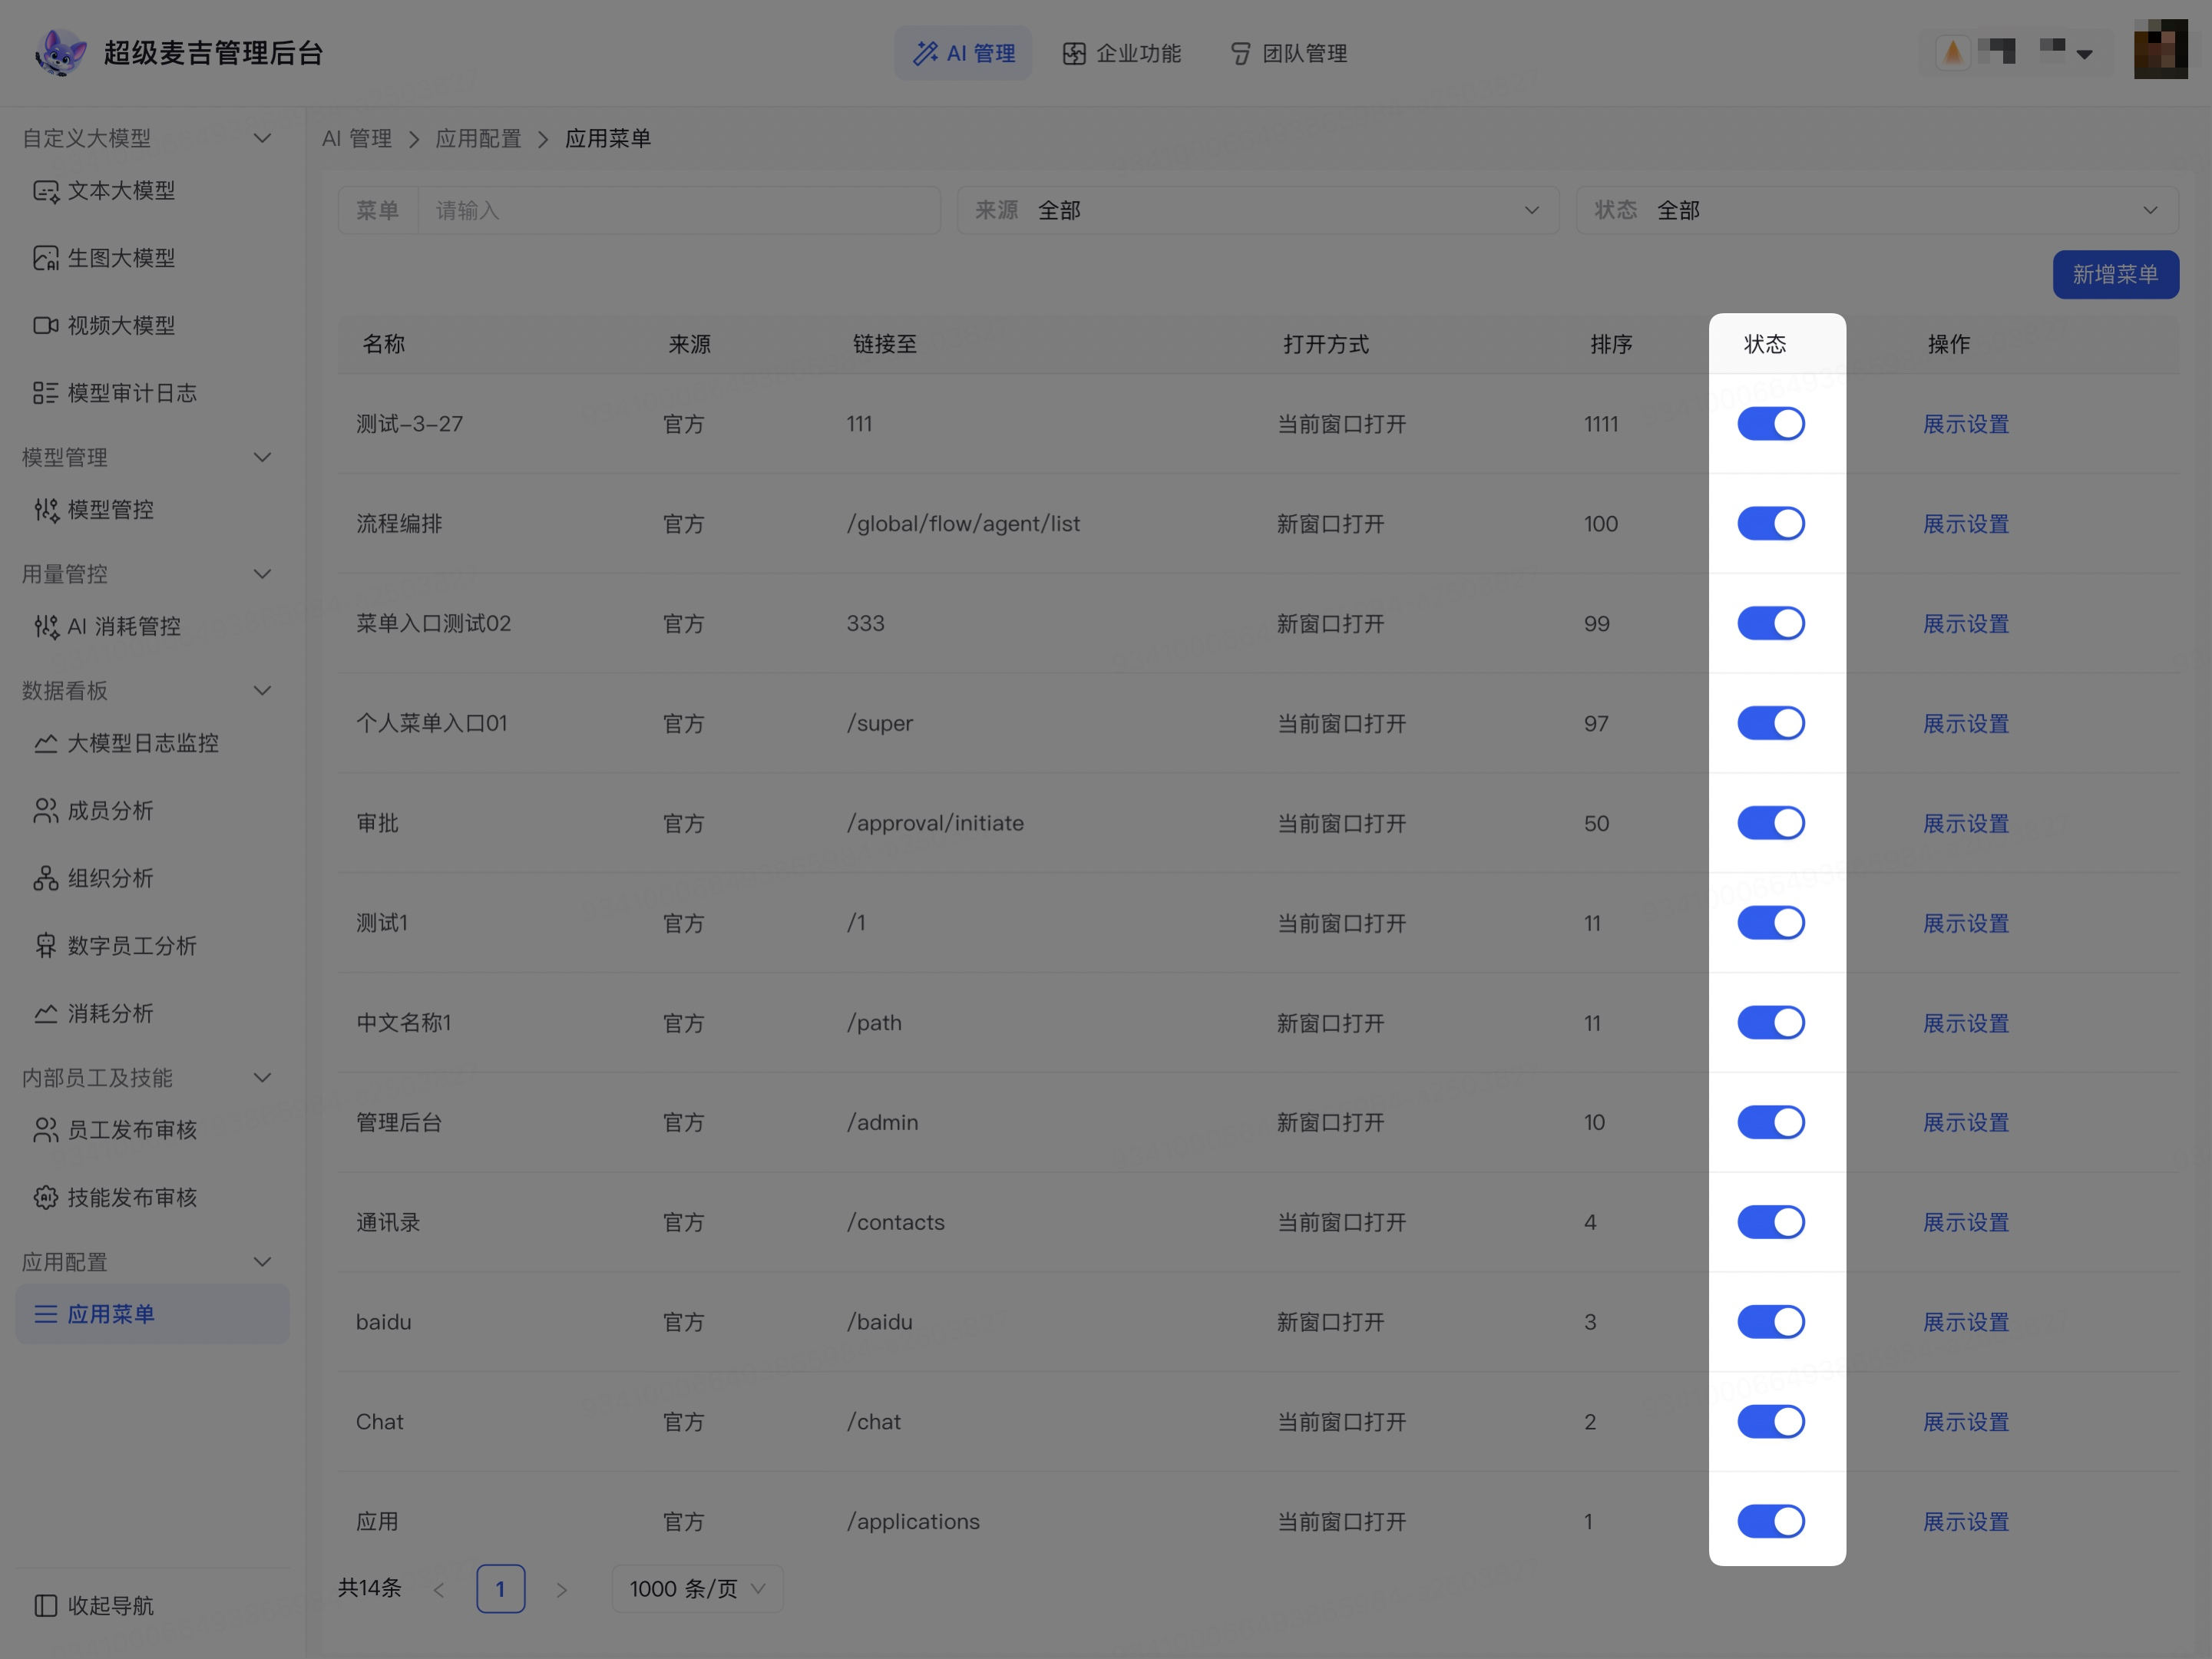
Before disabling a frequently used menu, notify the relevant members in advance and confirm that existing tasks no longer depend on the entry point.
Confirm the display on the member side
After saving or adjusting a menu, use actual member accounts to verify the following:
Use a member account within the visible scope to sign in to SuperMagic.
Confirm that the menu name, icon, and display position are correct.
Click the menu and confirm that the target page opens normally.
Check whether the page opens in the current window or a new window.
When the menu is set to be visible to specified members or departments, use an account outside the scope to confirm that the entry point is not displayed.
Whether a menu is displayed depends on both Entry Visibility and Status. When troubleshooting display issues, check both settings.